Setting Up an account on Google Cloud Platform
Table of contents:
- Creating an Account
- GCP Resources: Projects
- Accessing Cloud Platform Services
- Account Users and Permissions
- The Cloud Shell
This post walks through setting up a Google Cloud Platform account. A GCP account gives access to all of the platform’s infrastructure and services. For a new account, a $300 credit is awarded, to be spent over a period of 12 months. This offer is great as it gives ample time to explore the different features and services of Google’s cloud offering.
Note that to register an account requires a valid credit card to validate that it is an authentic user, as opposed to a robot. However, the credit card won’t be charged after the trial ends, except Google is authorized to do so.
Creating an Account
-
Go to https://cloud.google.com/ to open an account
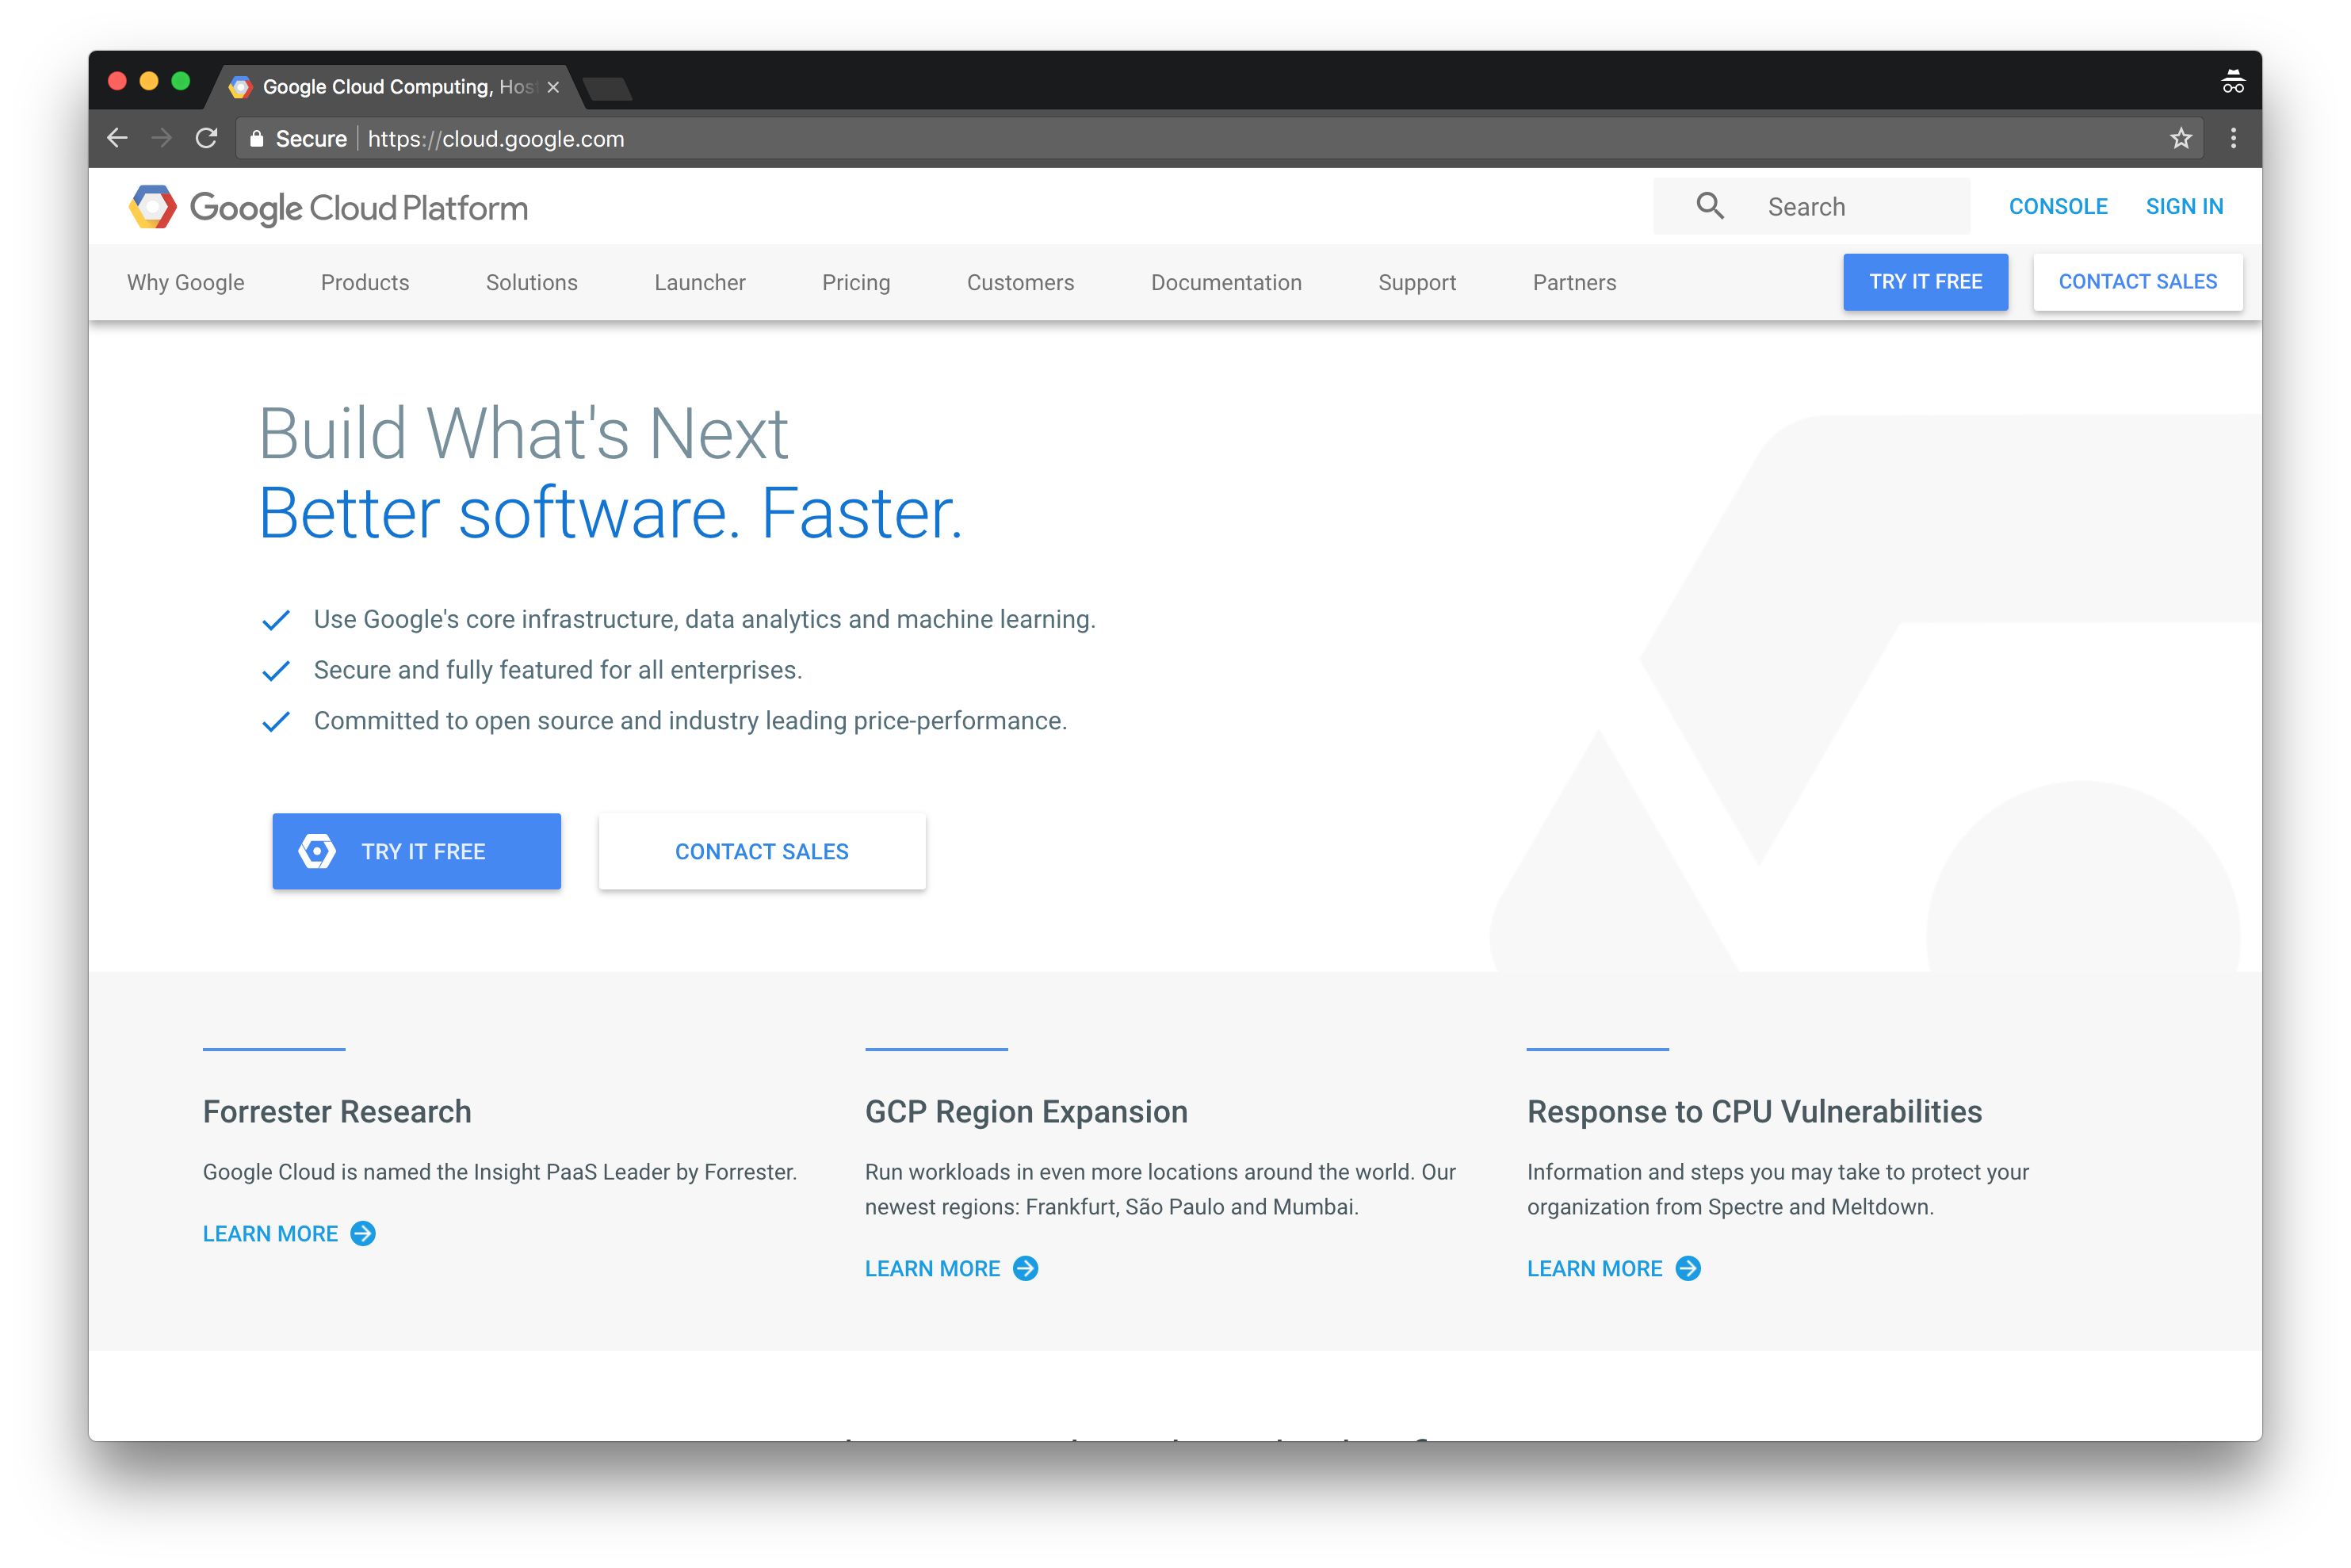 Figure 1: Google Cloud Platform Login Page.
 - Fill in the necessary identity, address and credit card details.
-
Wait a moment, while an account is created on the platform.
 Figure 2: Creating Account.
 -
After account creation, we’re presented with the Welcome to GCP page.
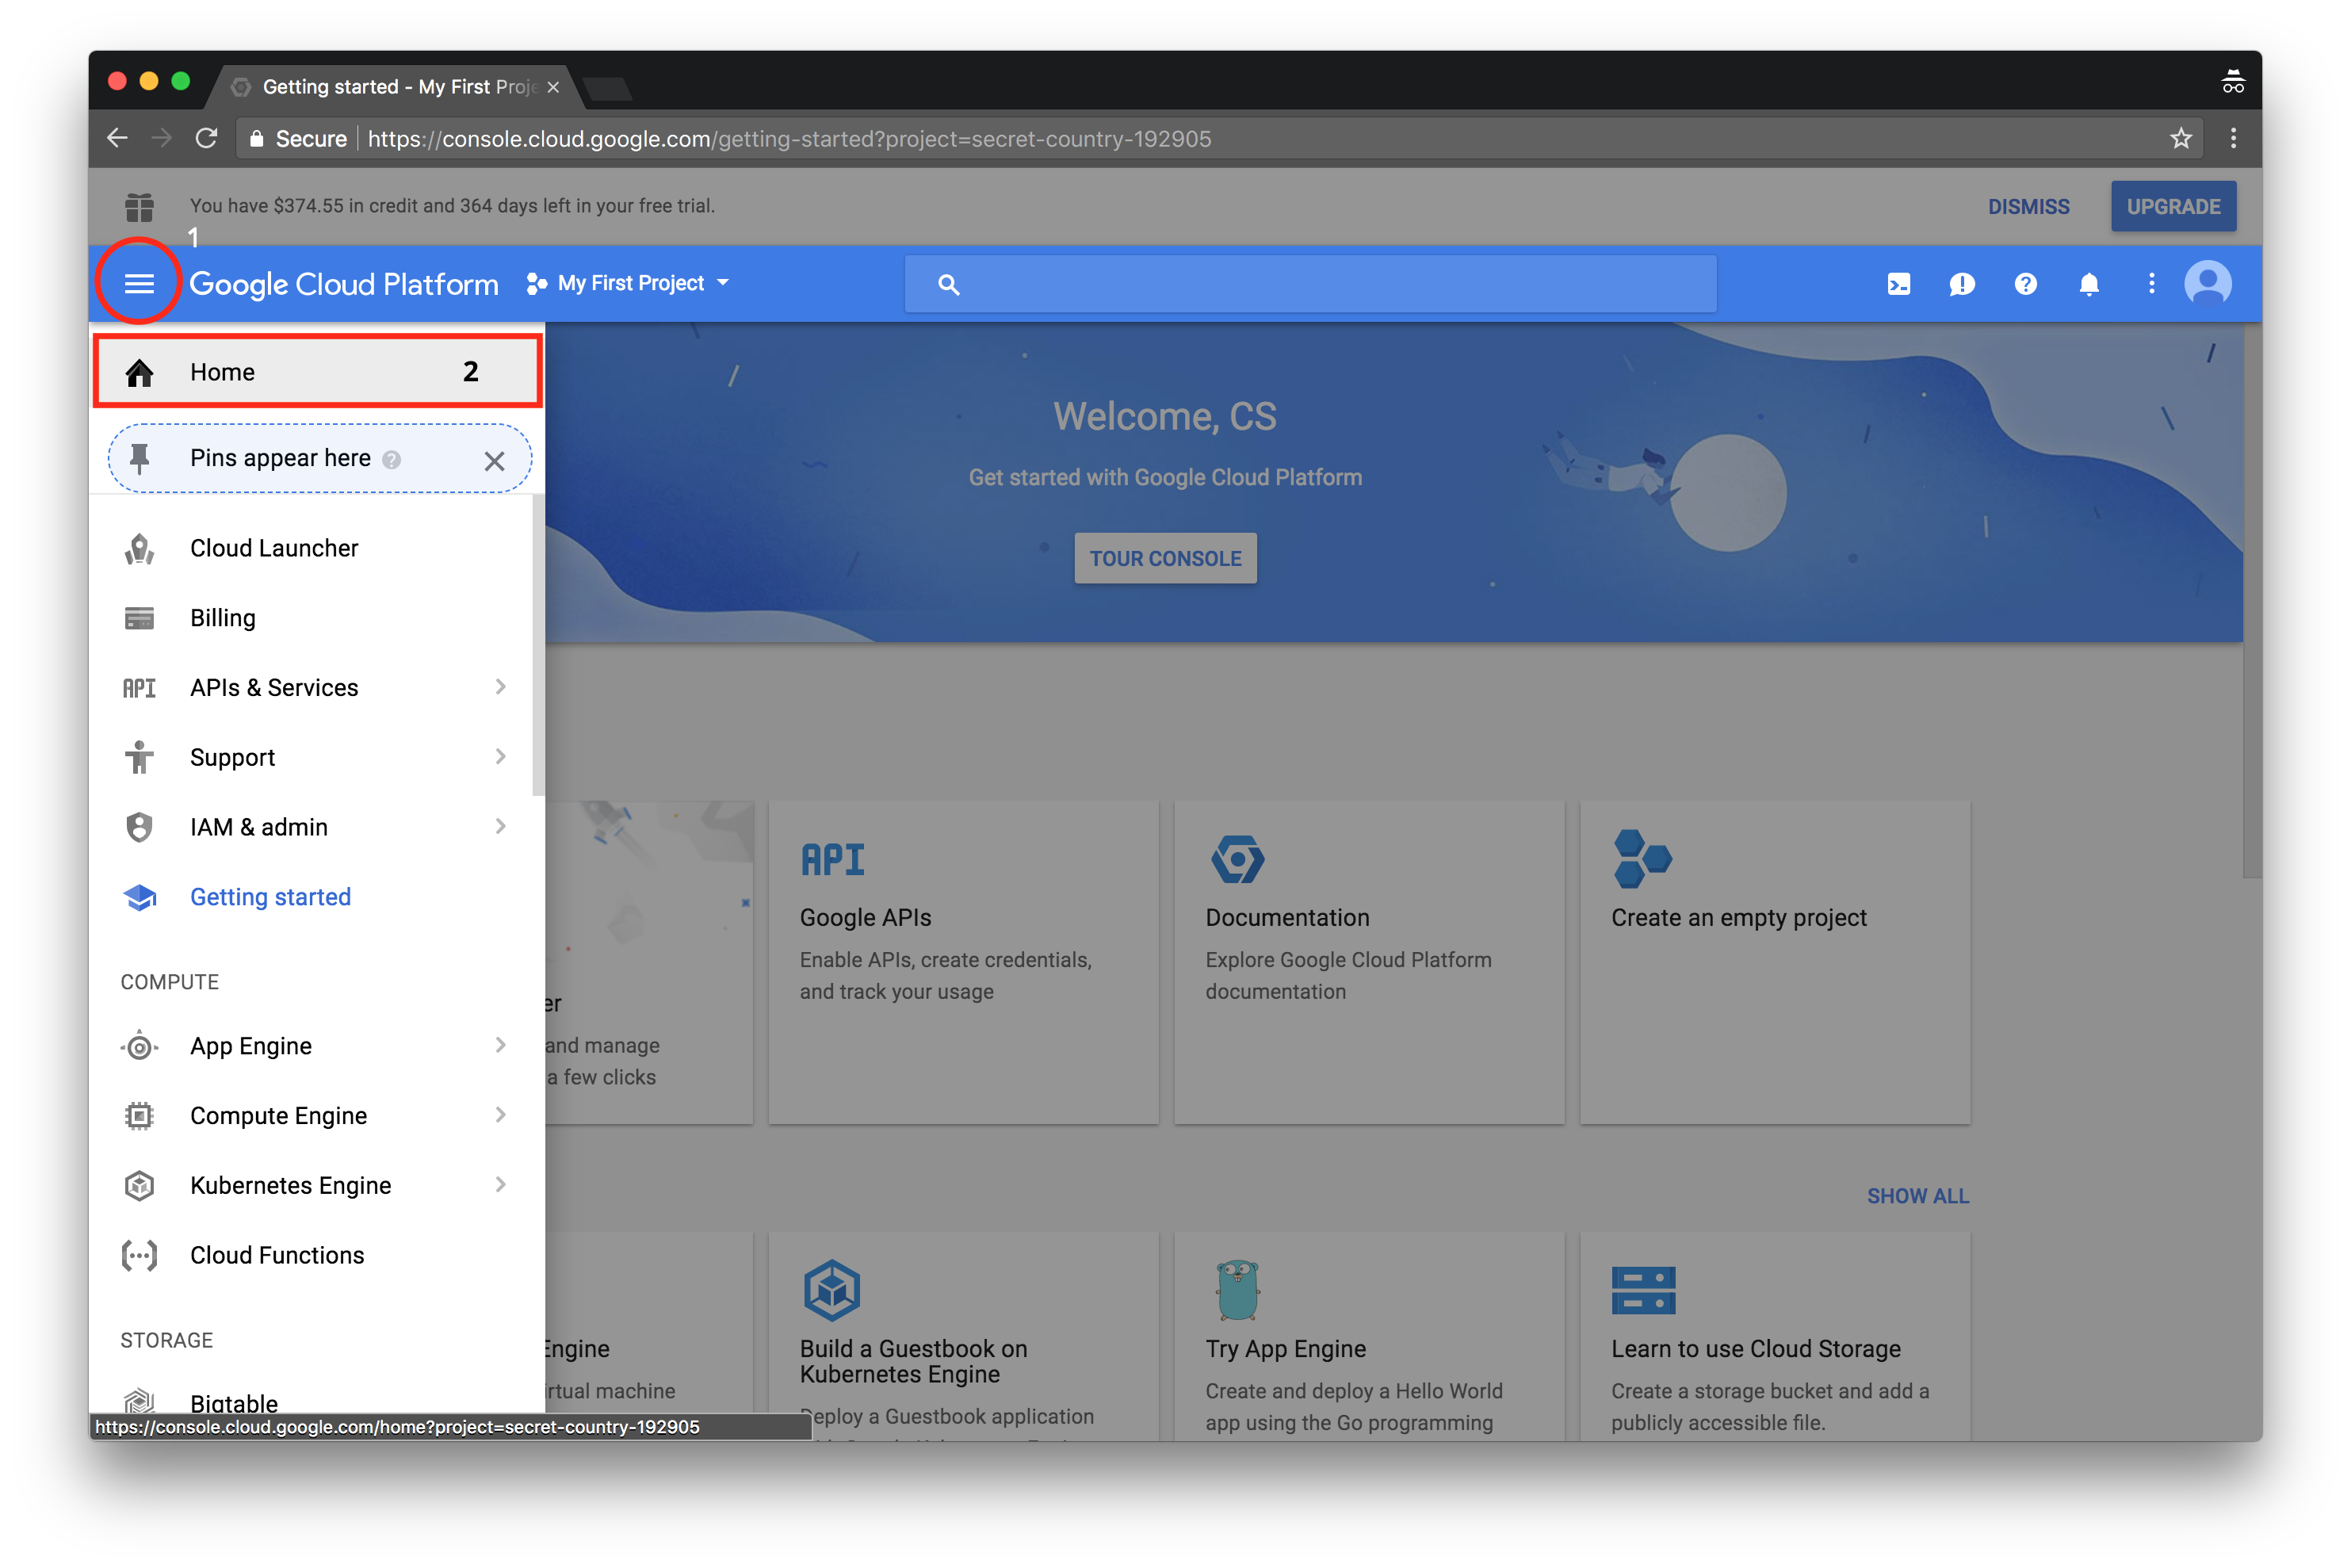 Figure 3: Welcome to GCP.
 -
Click on the triple-dash in the top-right corner of the page (1), then click on Home (2) to open the Google Cloud Platform Dashboard.
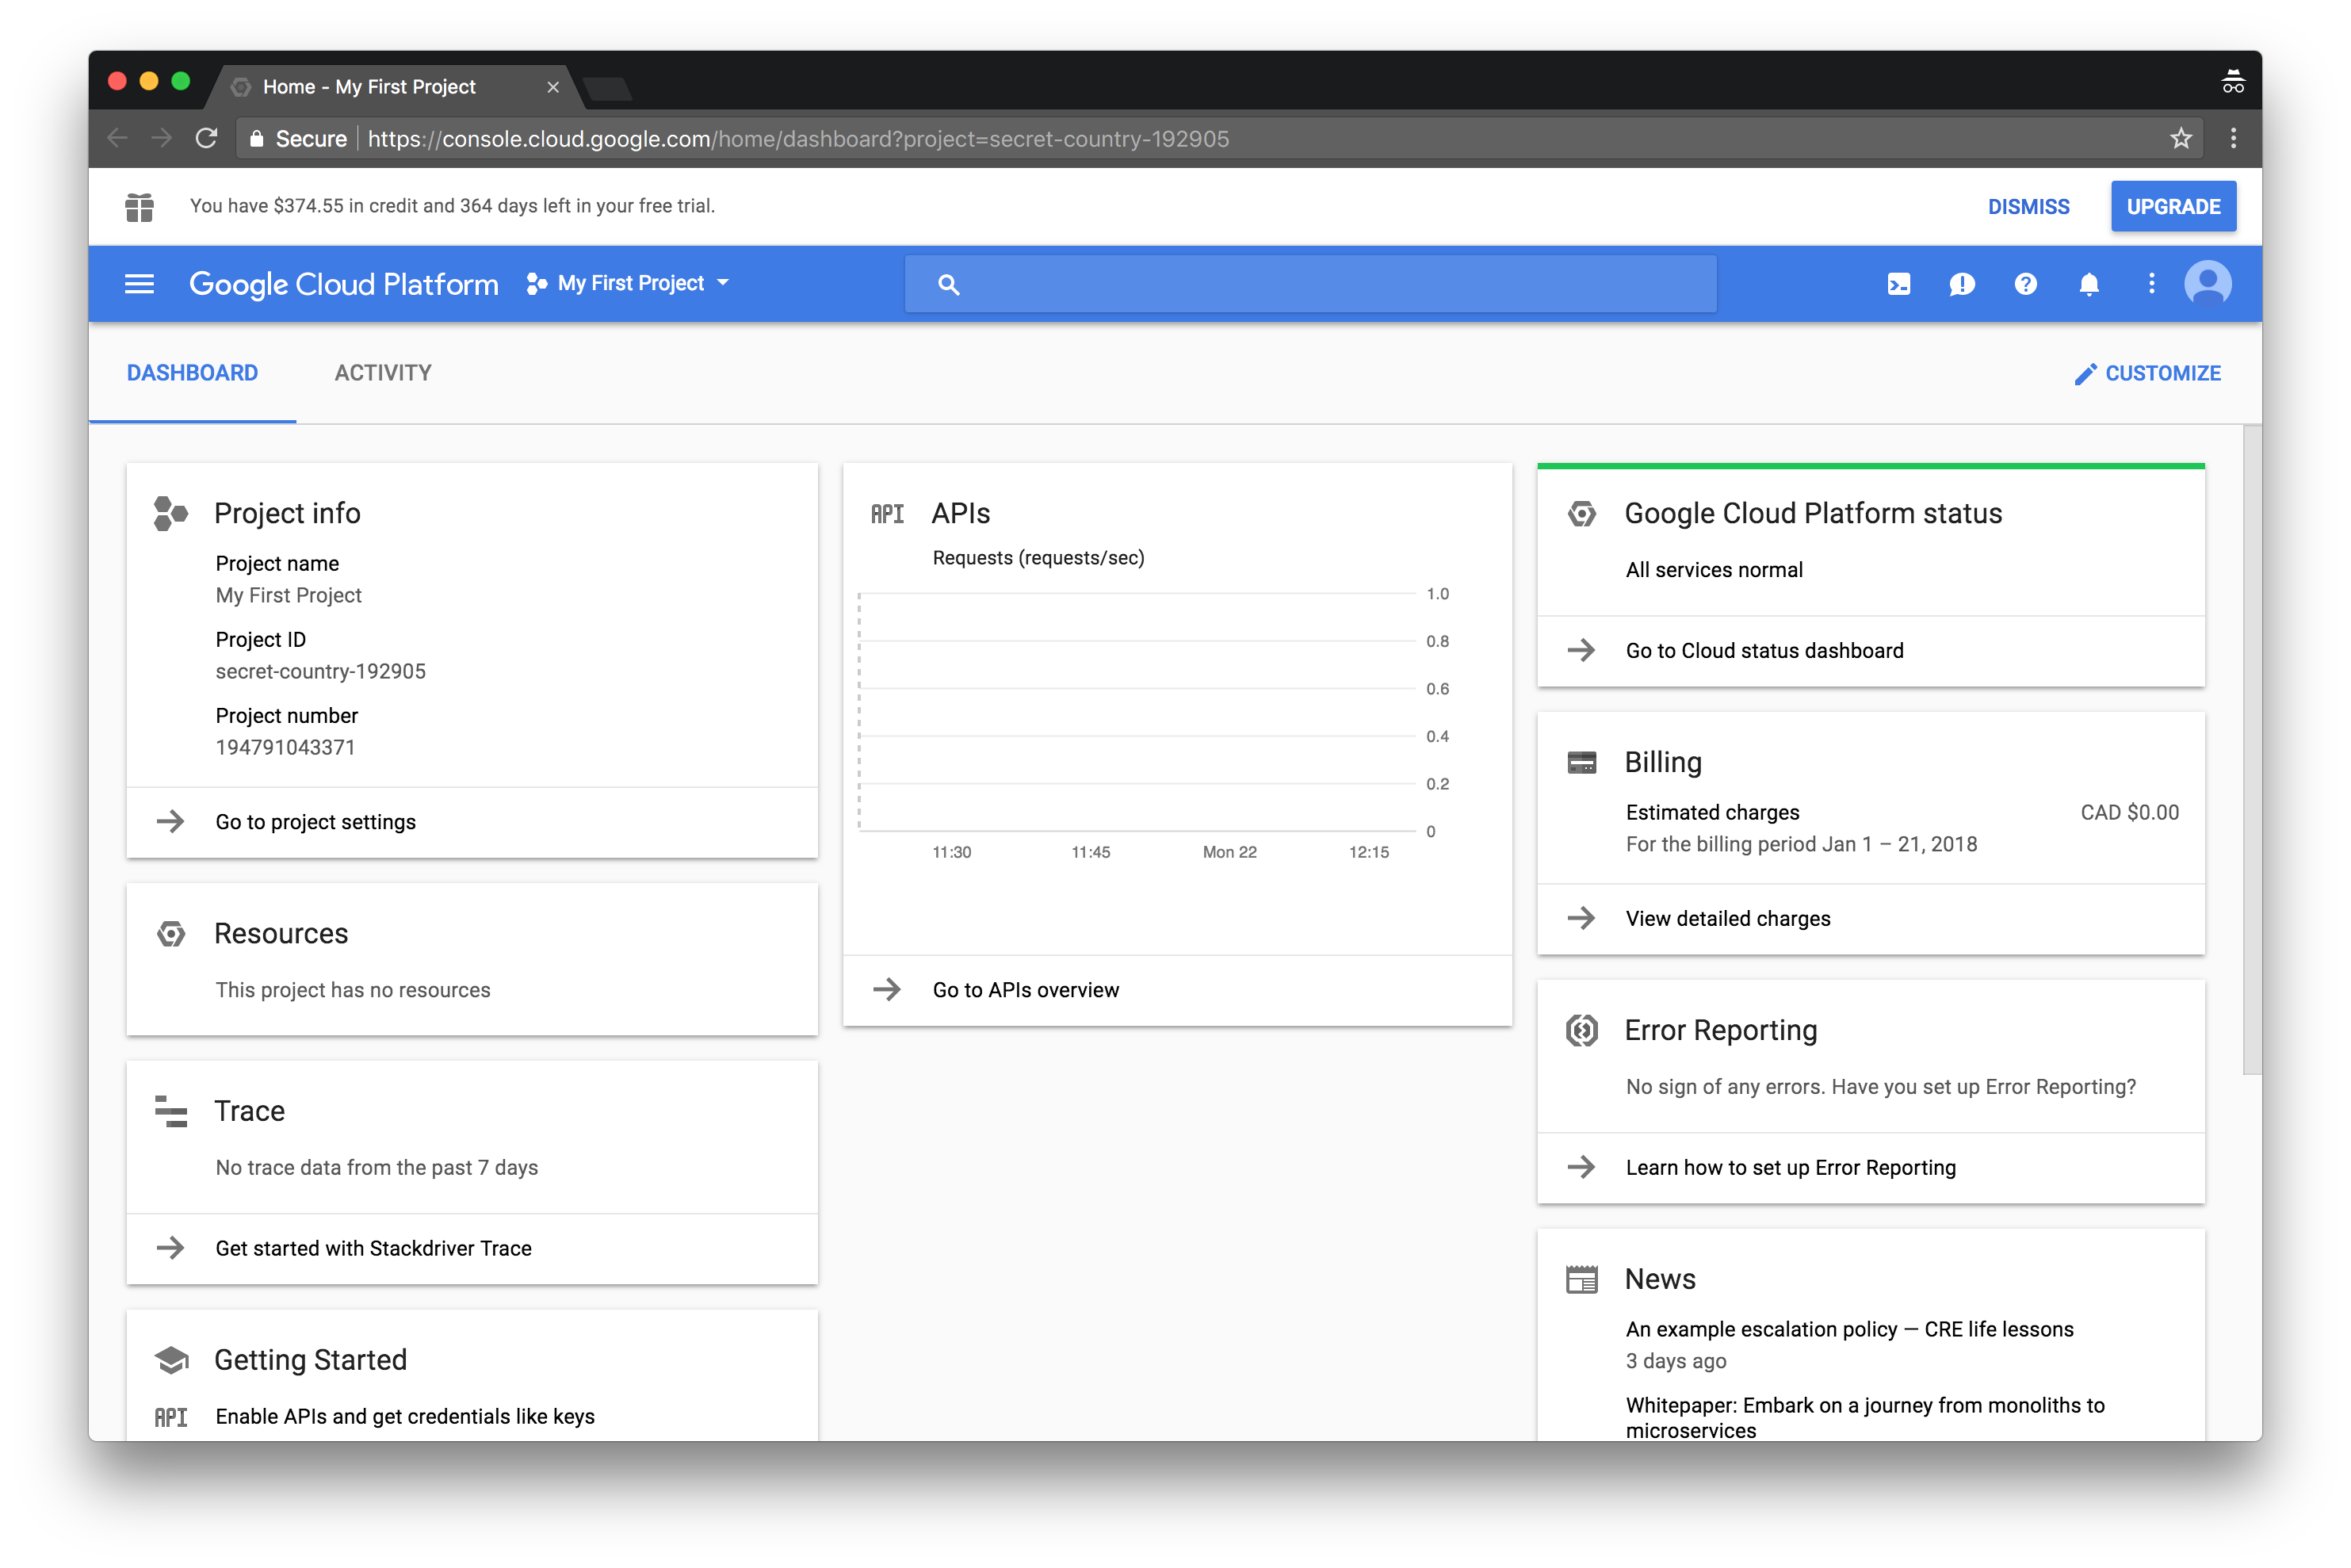 Figure 4: GCP Dashboard.
The Cloud Dashboard provides a birds-eye summary of the project such as the current billing rate and other resource usage statistics. The activity tab to the right gives a breakdown of the resource actions performed on the account. This feature is useful when building an audit trail of events.
GCP Resources: Projects
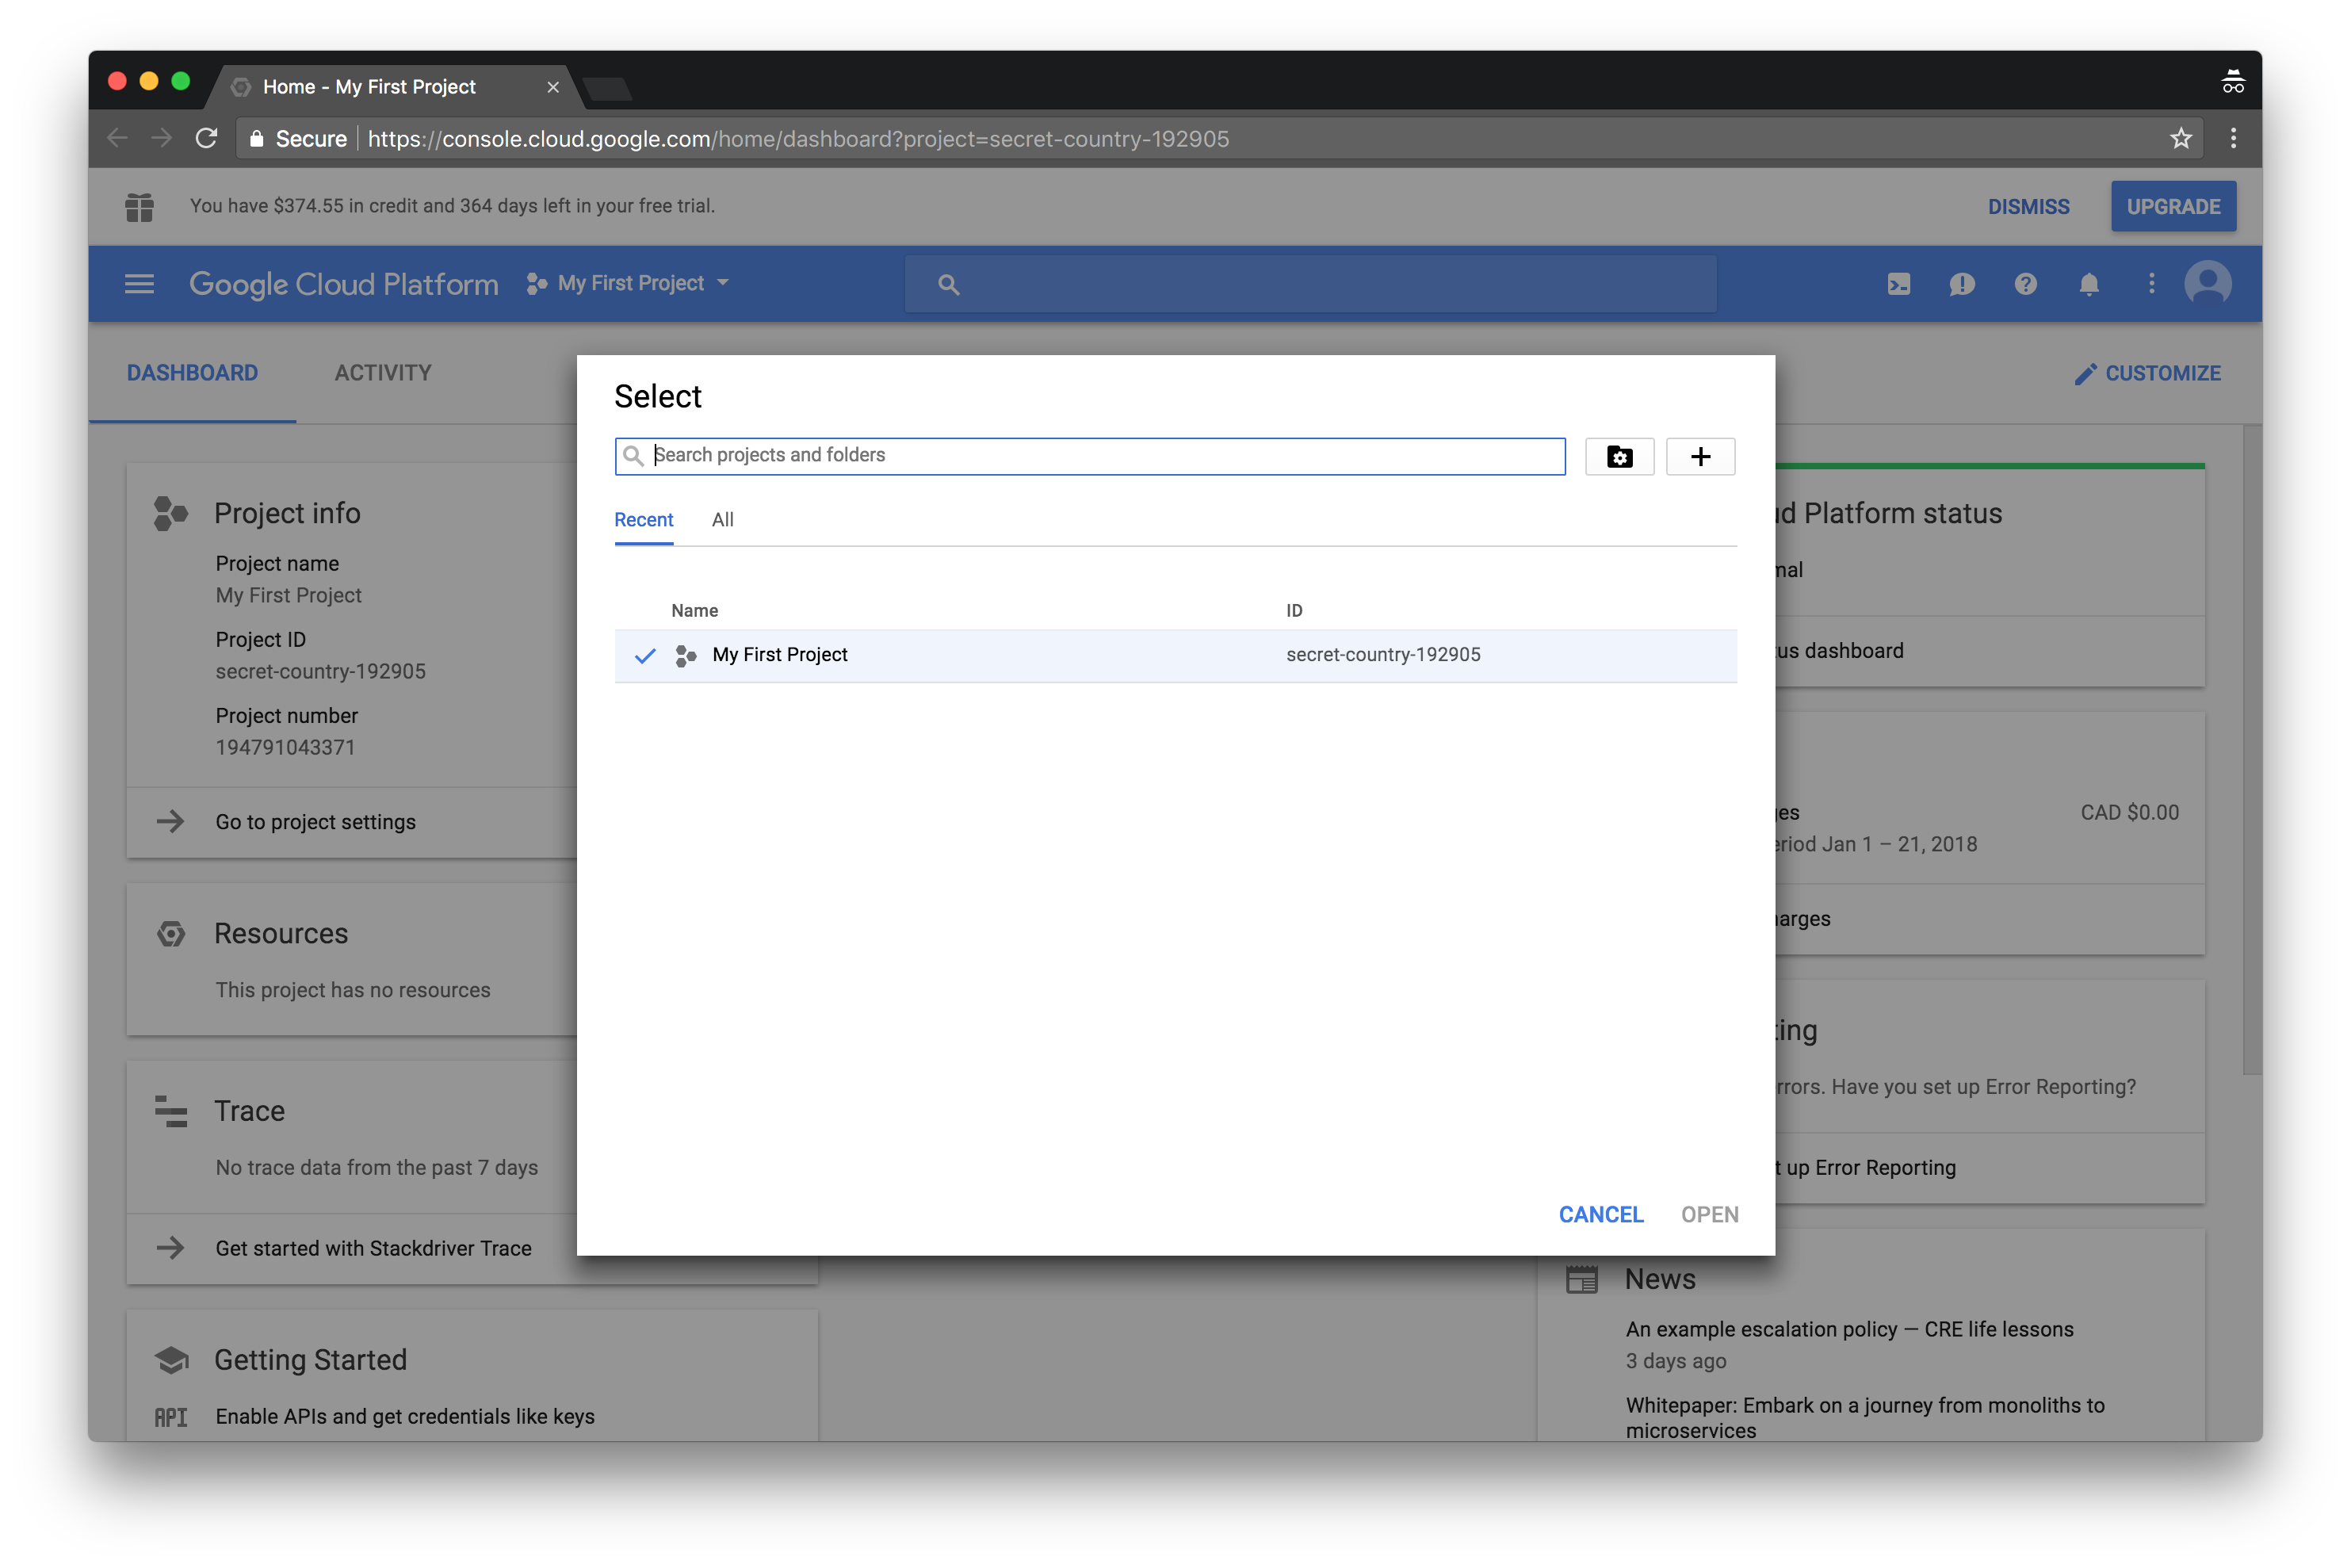
All the services and features of the Google cloud platform are called resources. These resources are arranged in a hierarchical order, with the top-level being the project. The project is like a container that houses all GCPs resources. Billing on an account is attached to a project. Multiple projects can be created for an account.
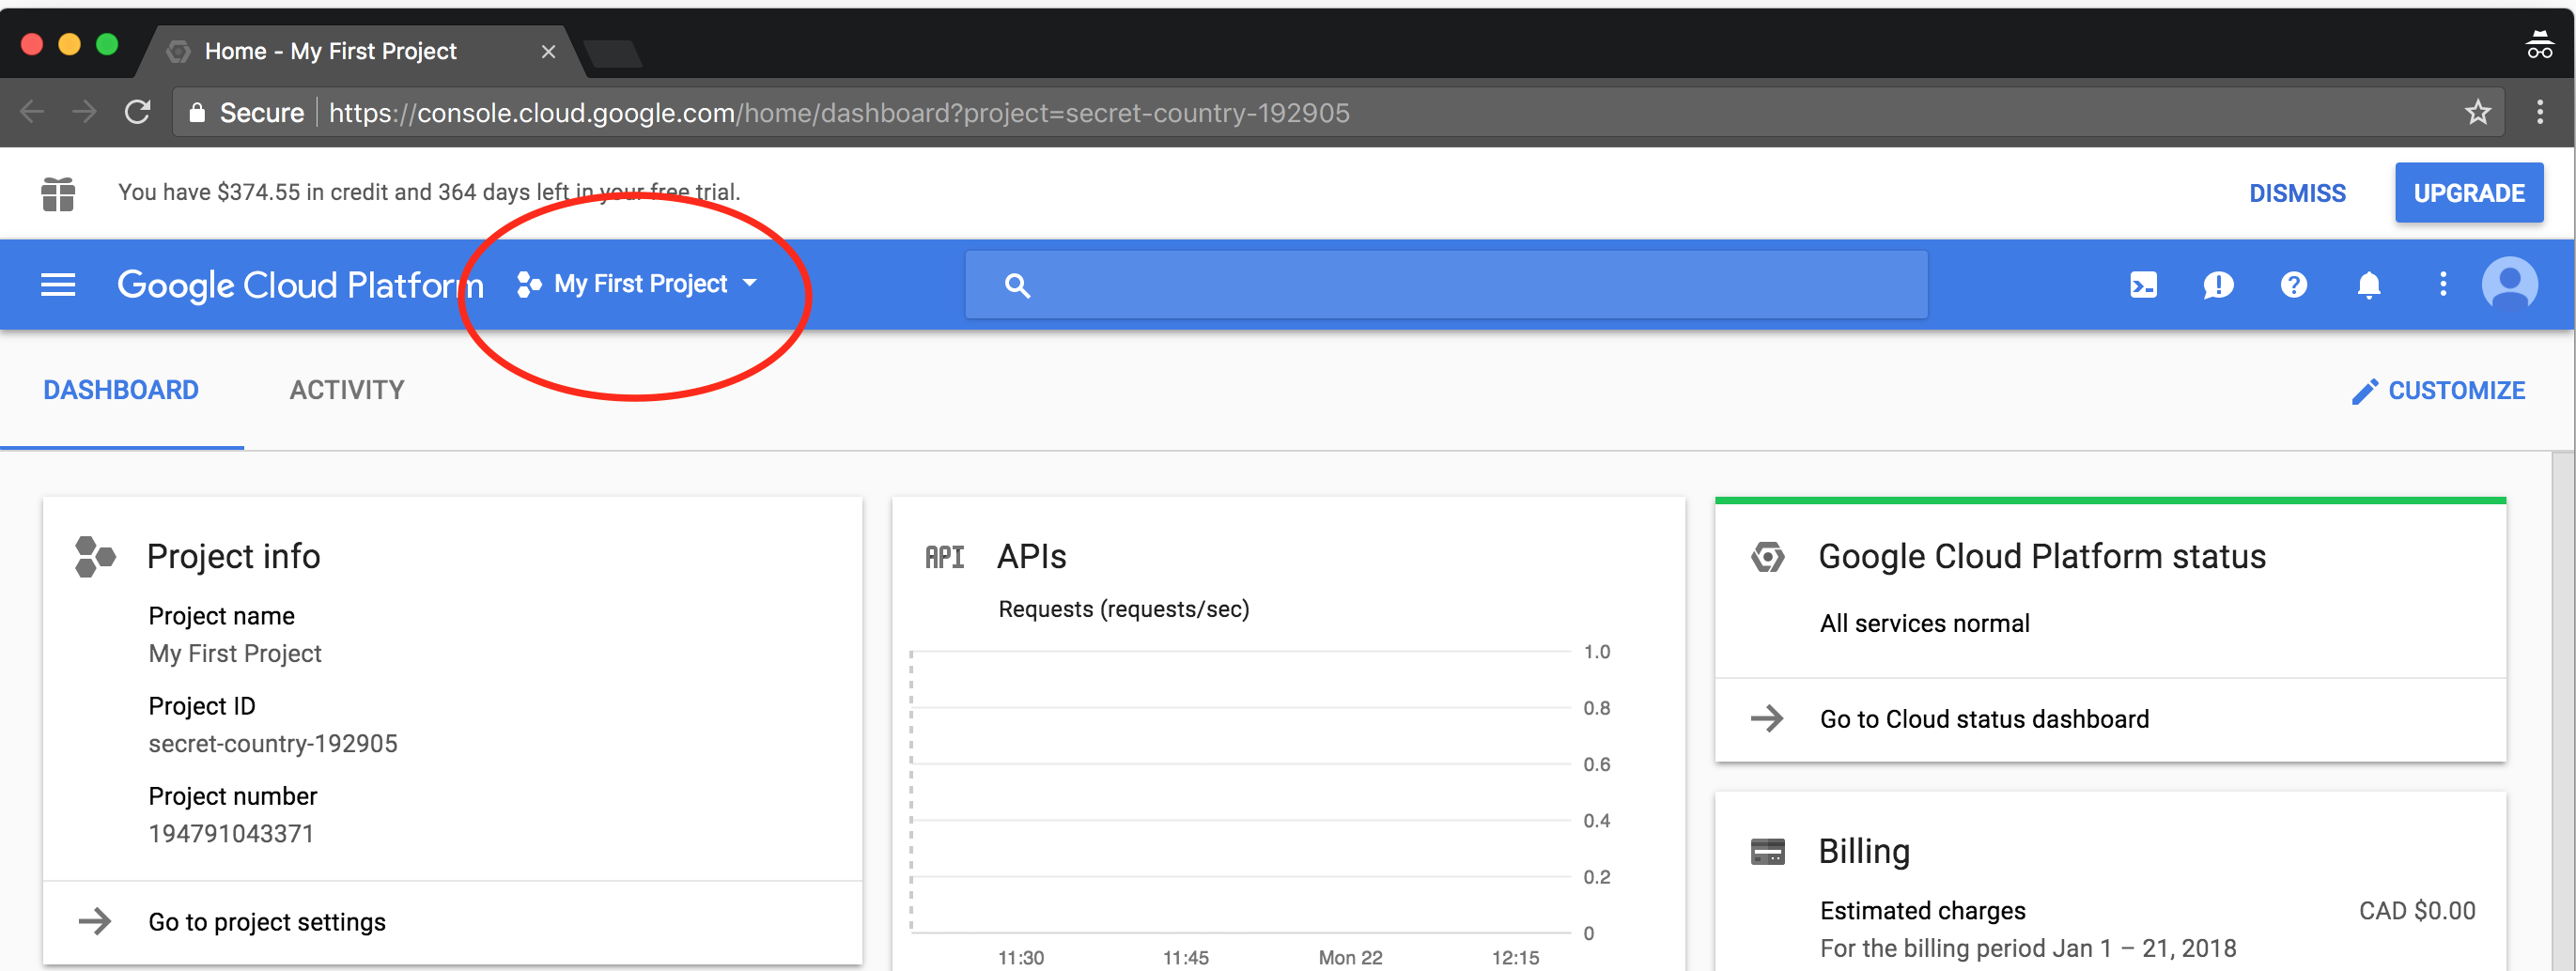
To view the projects in the account, click on the scope picker in the cloud console (see red highlight in figure below)
Accessing Cloud Platform Services
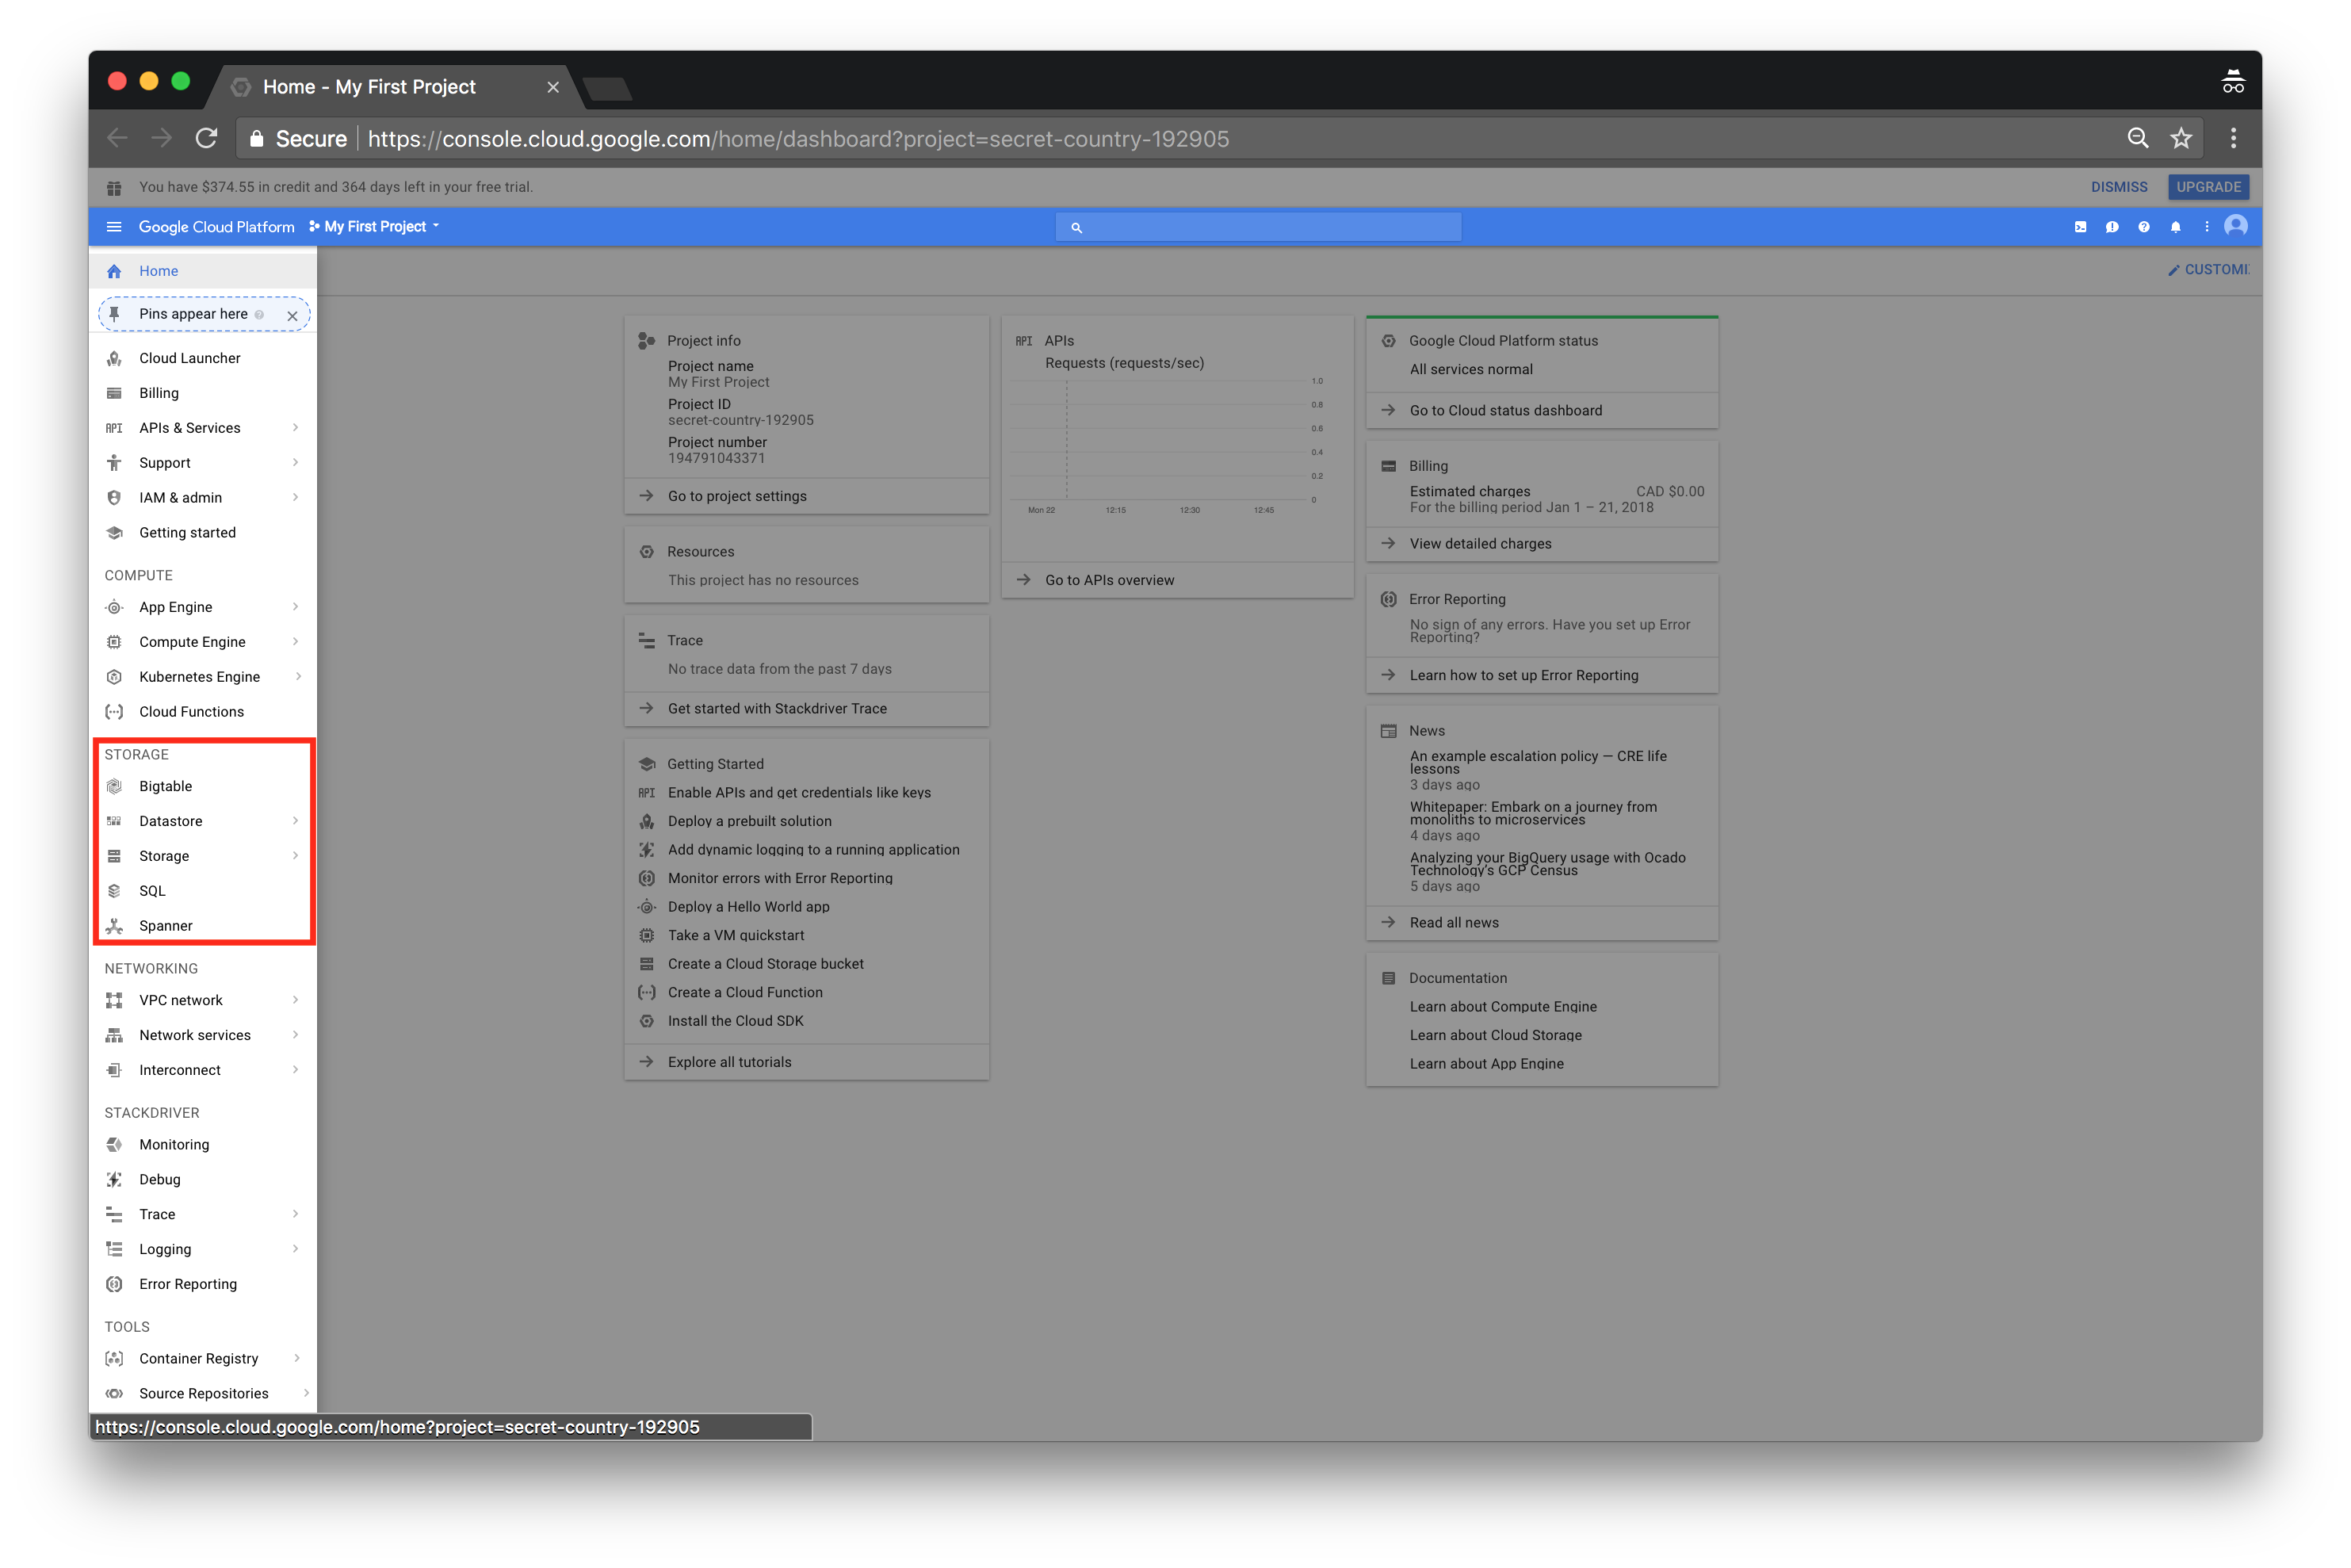
To access the resources on the cloud platform, click the triple-dash in the top-right corner of the window. Grouped service offerings are used to organize the resources. For example, in the image below, we can see the products under Storage: Bigtable, Datastore, Storage, SQL, and Spanner.
Account Users and Permissions
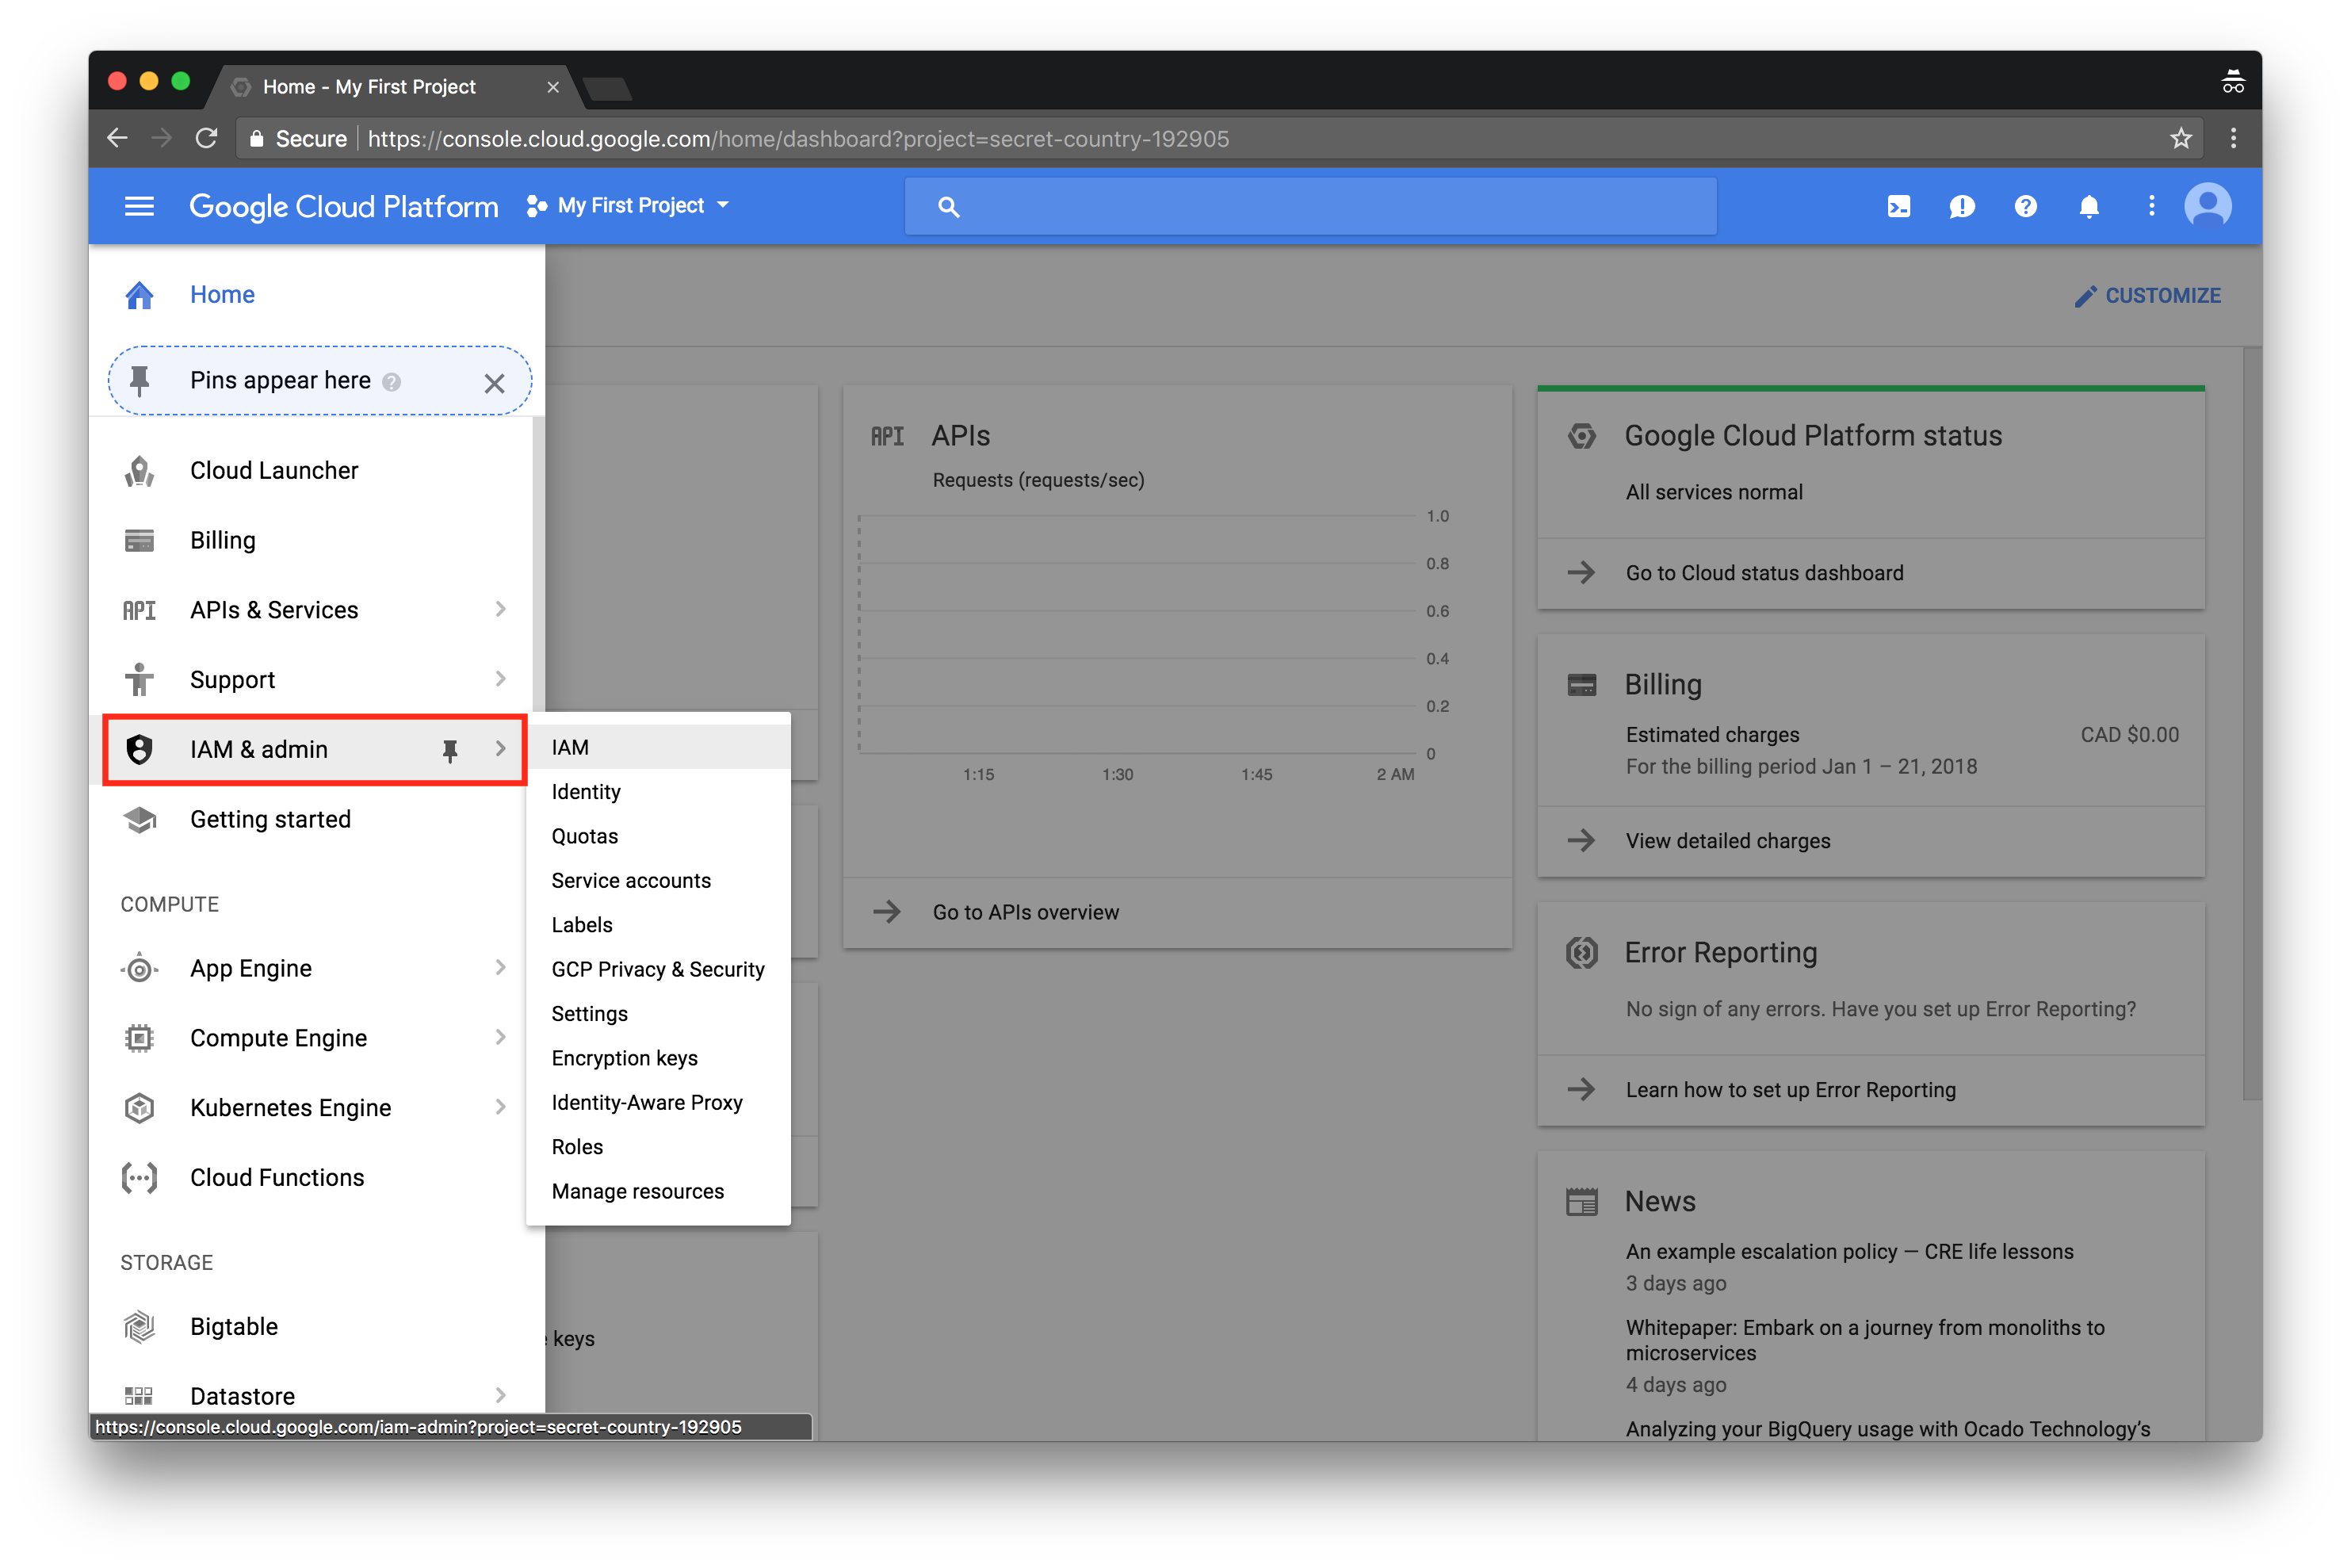
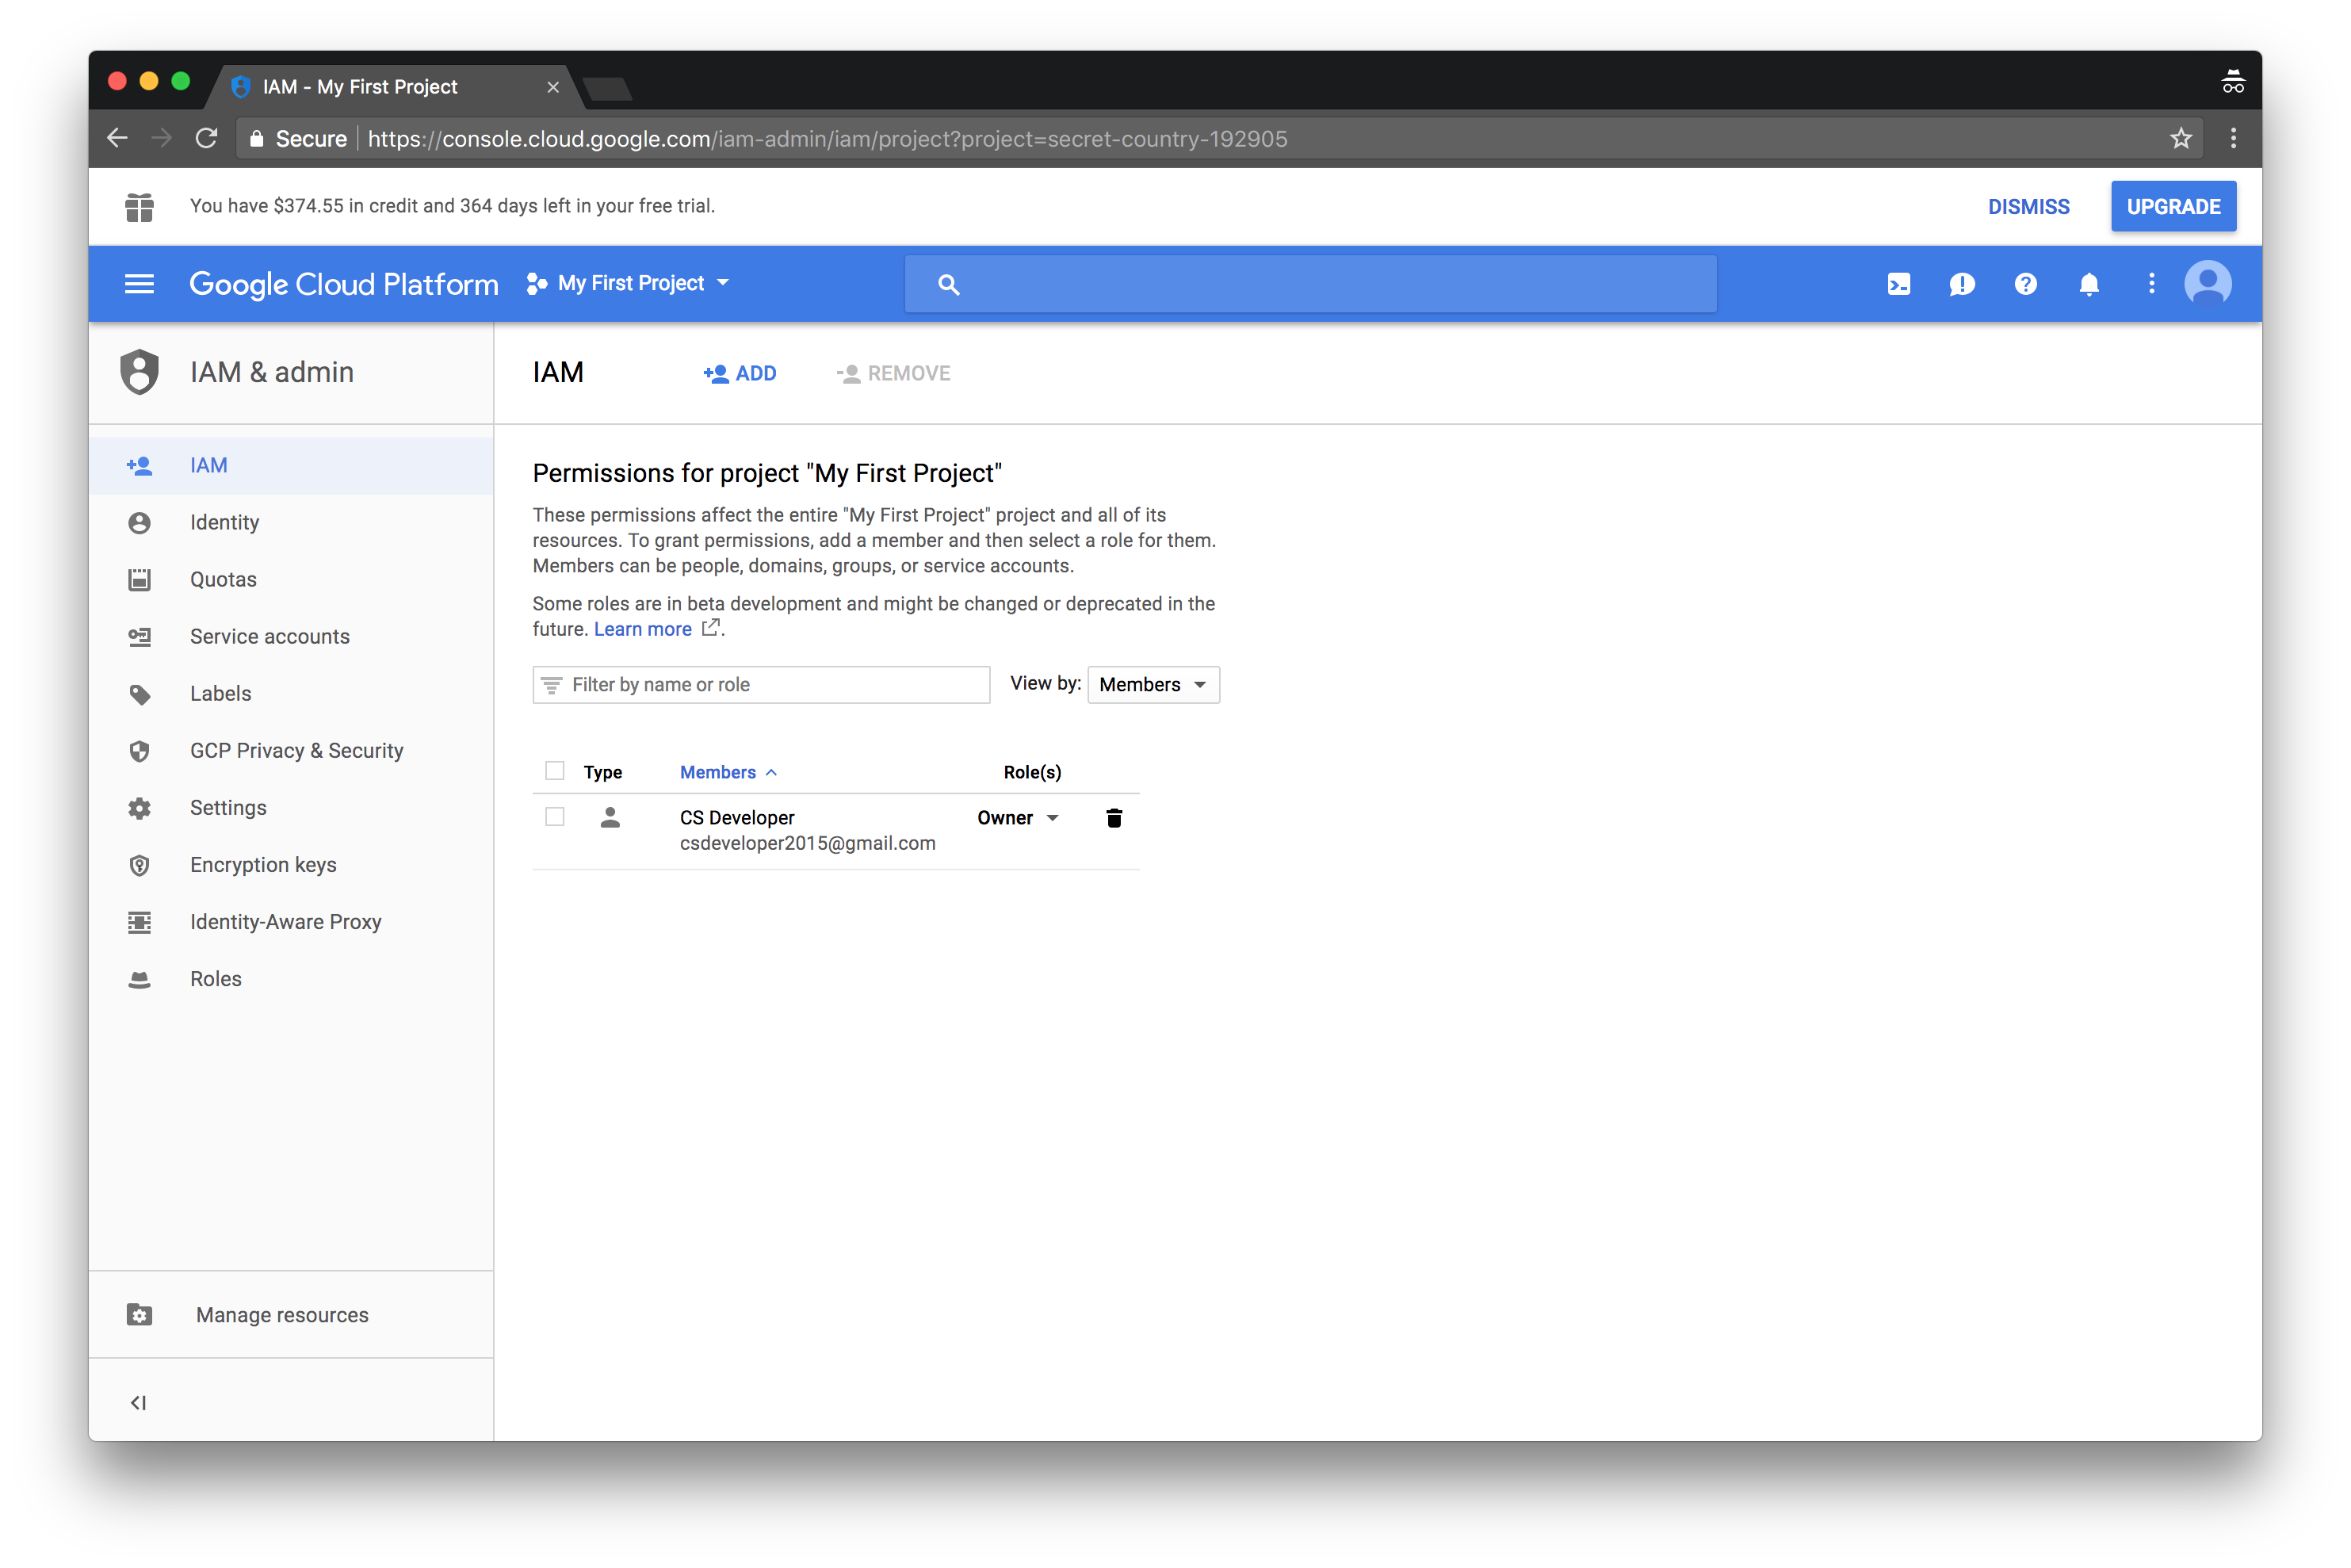
GCP allows you to define security roles and permission for every resource in a specific project. This feature is particularly useful when a project scales beyond one user. New roles and permissions are created for a user through the IAM & Admin tab.
The Cloud Shell
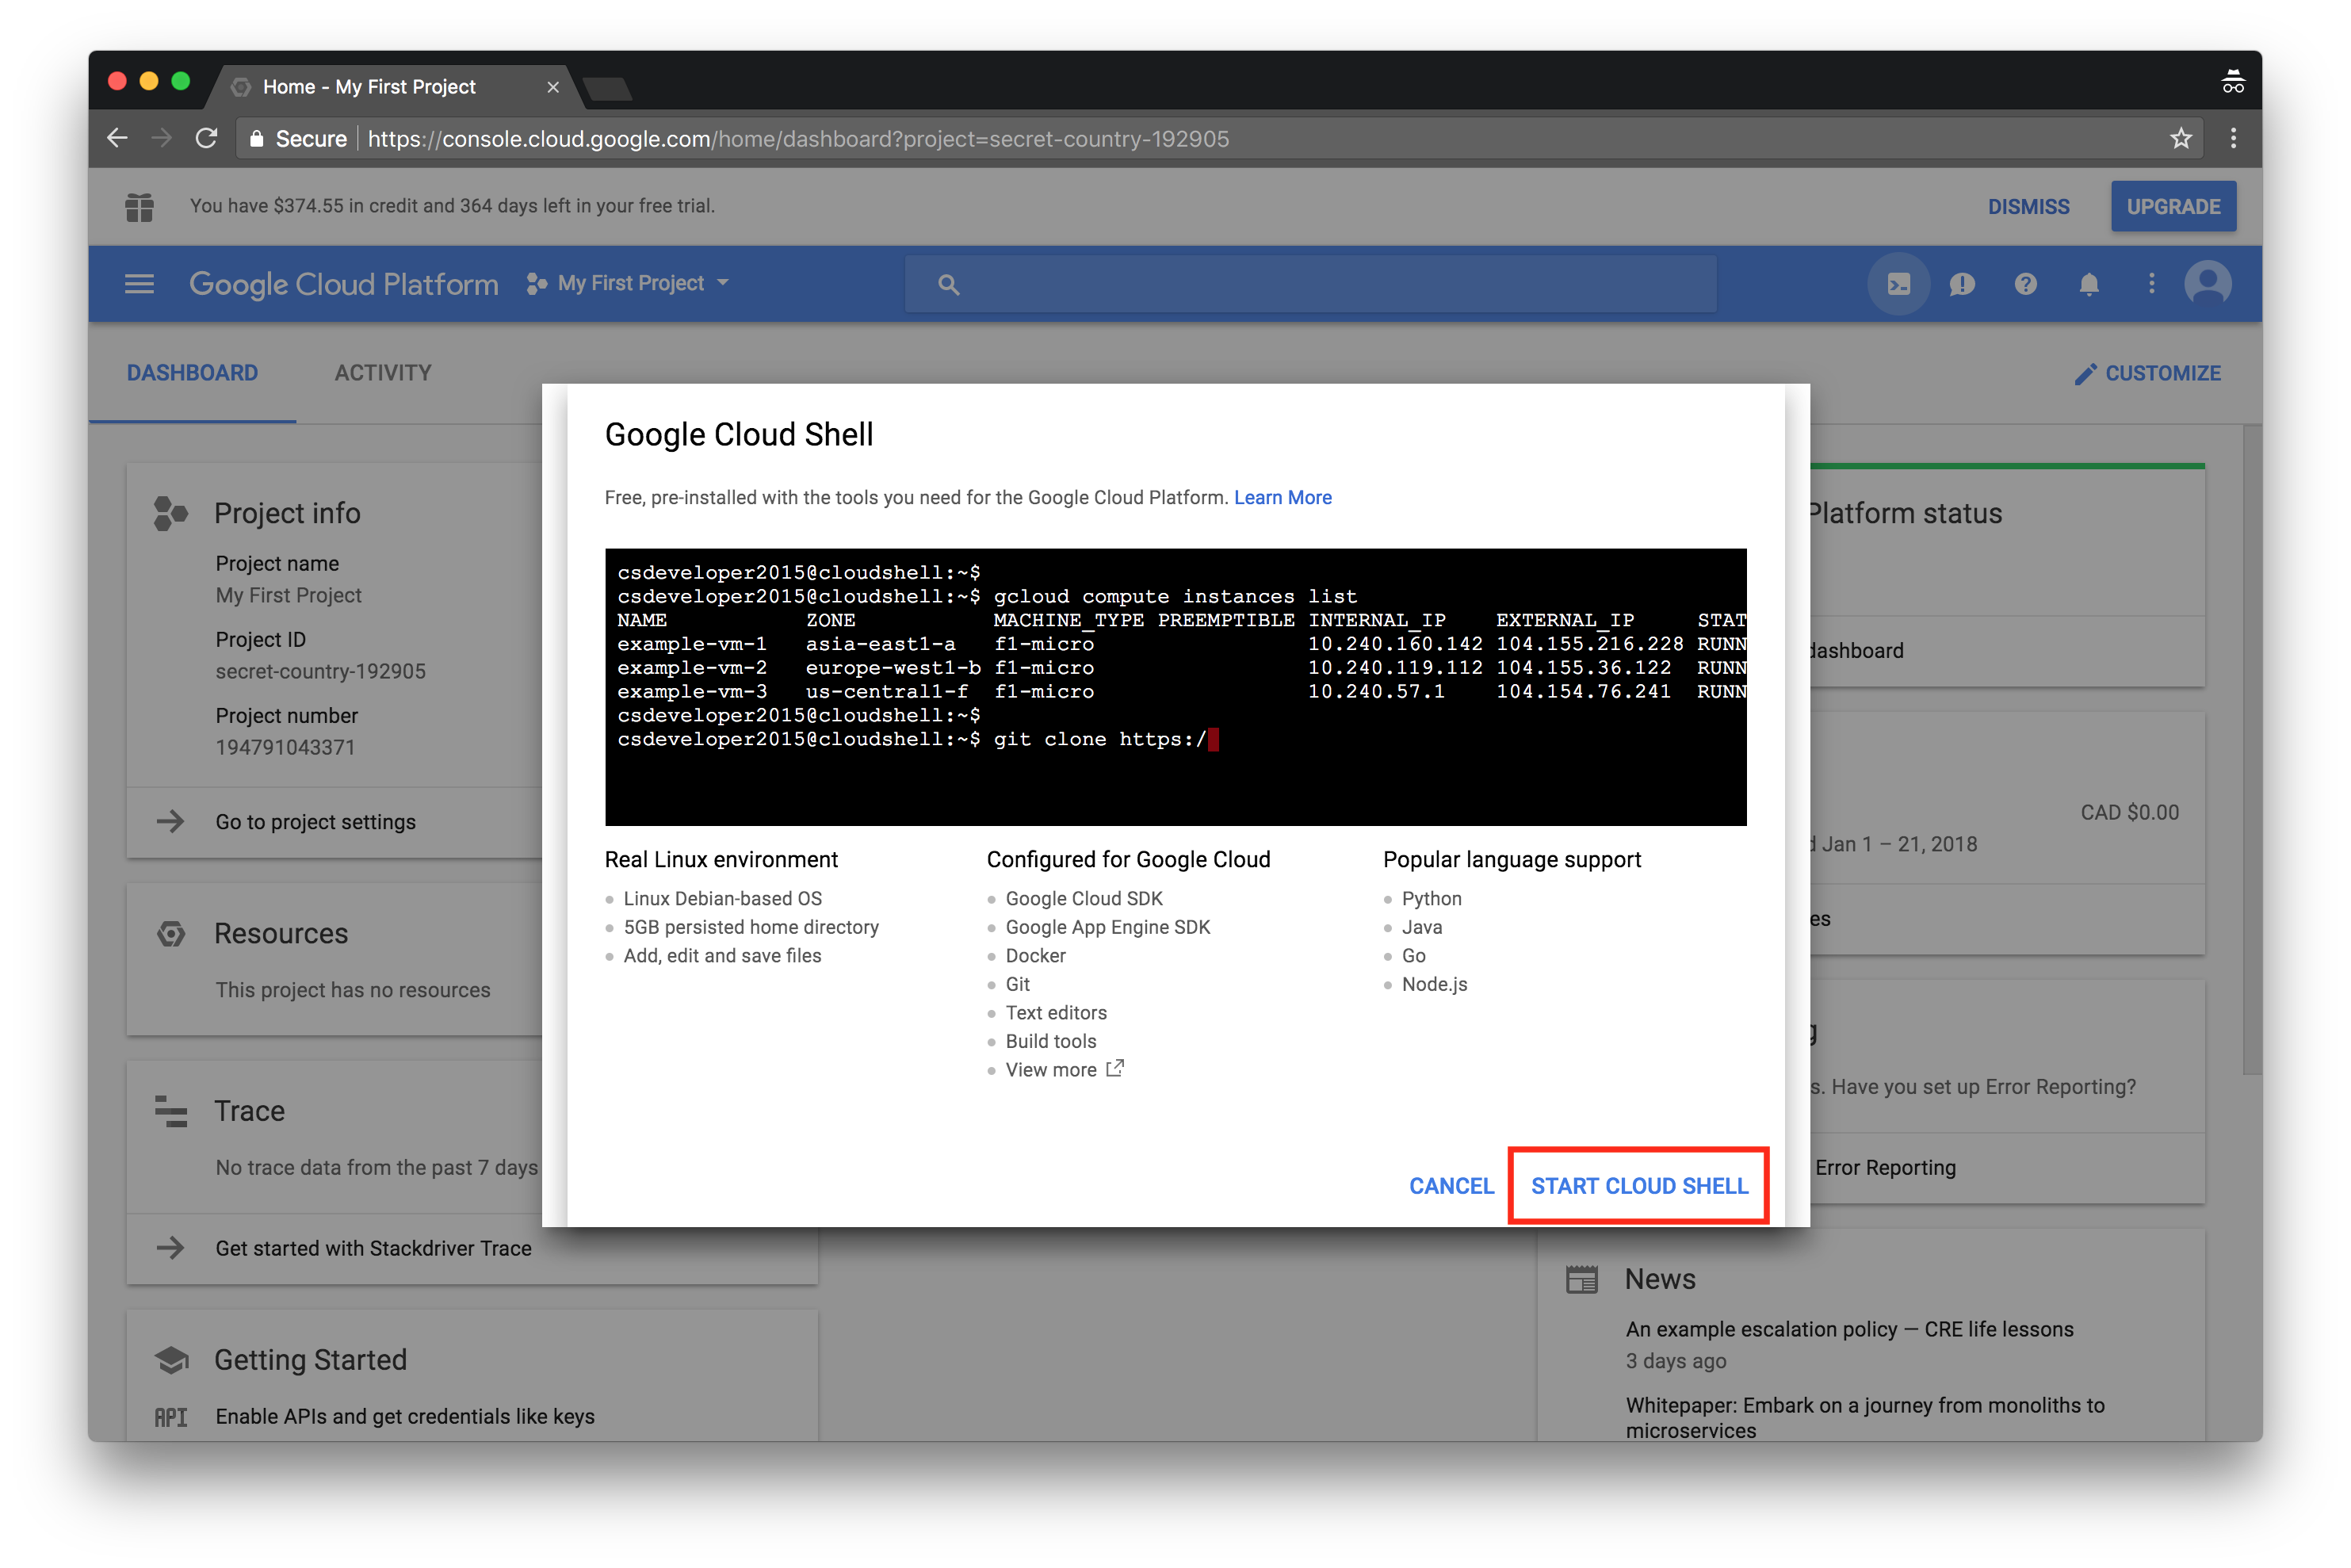
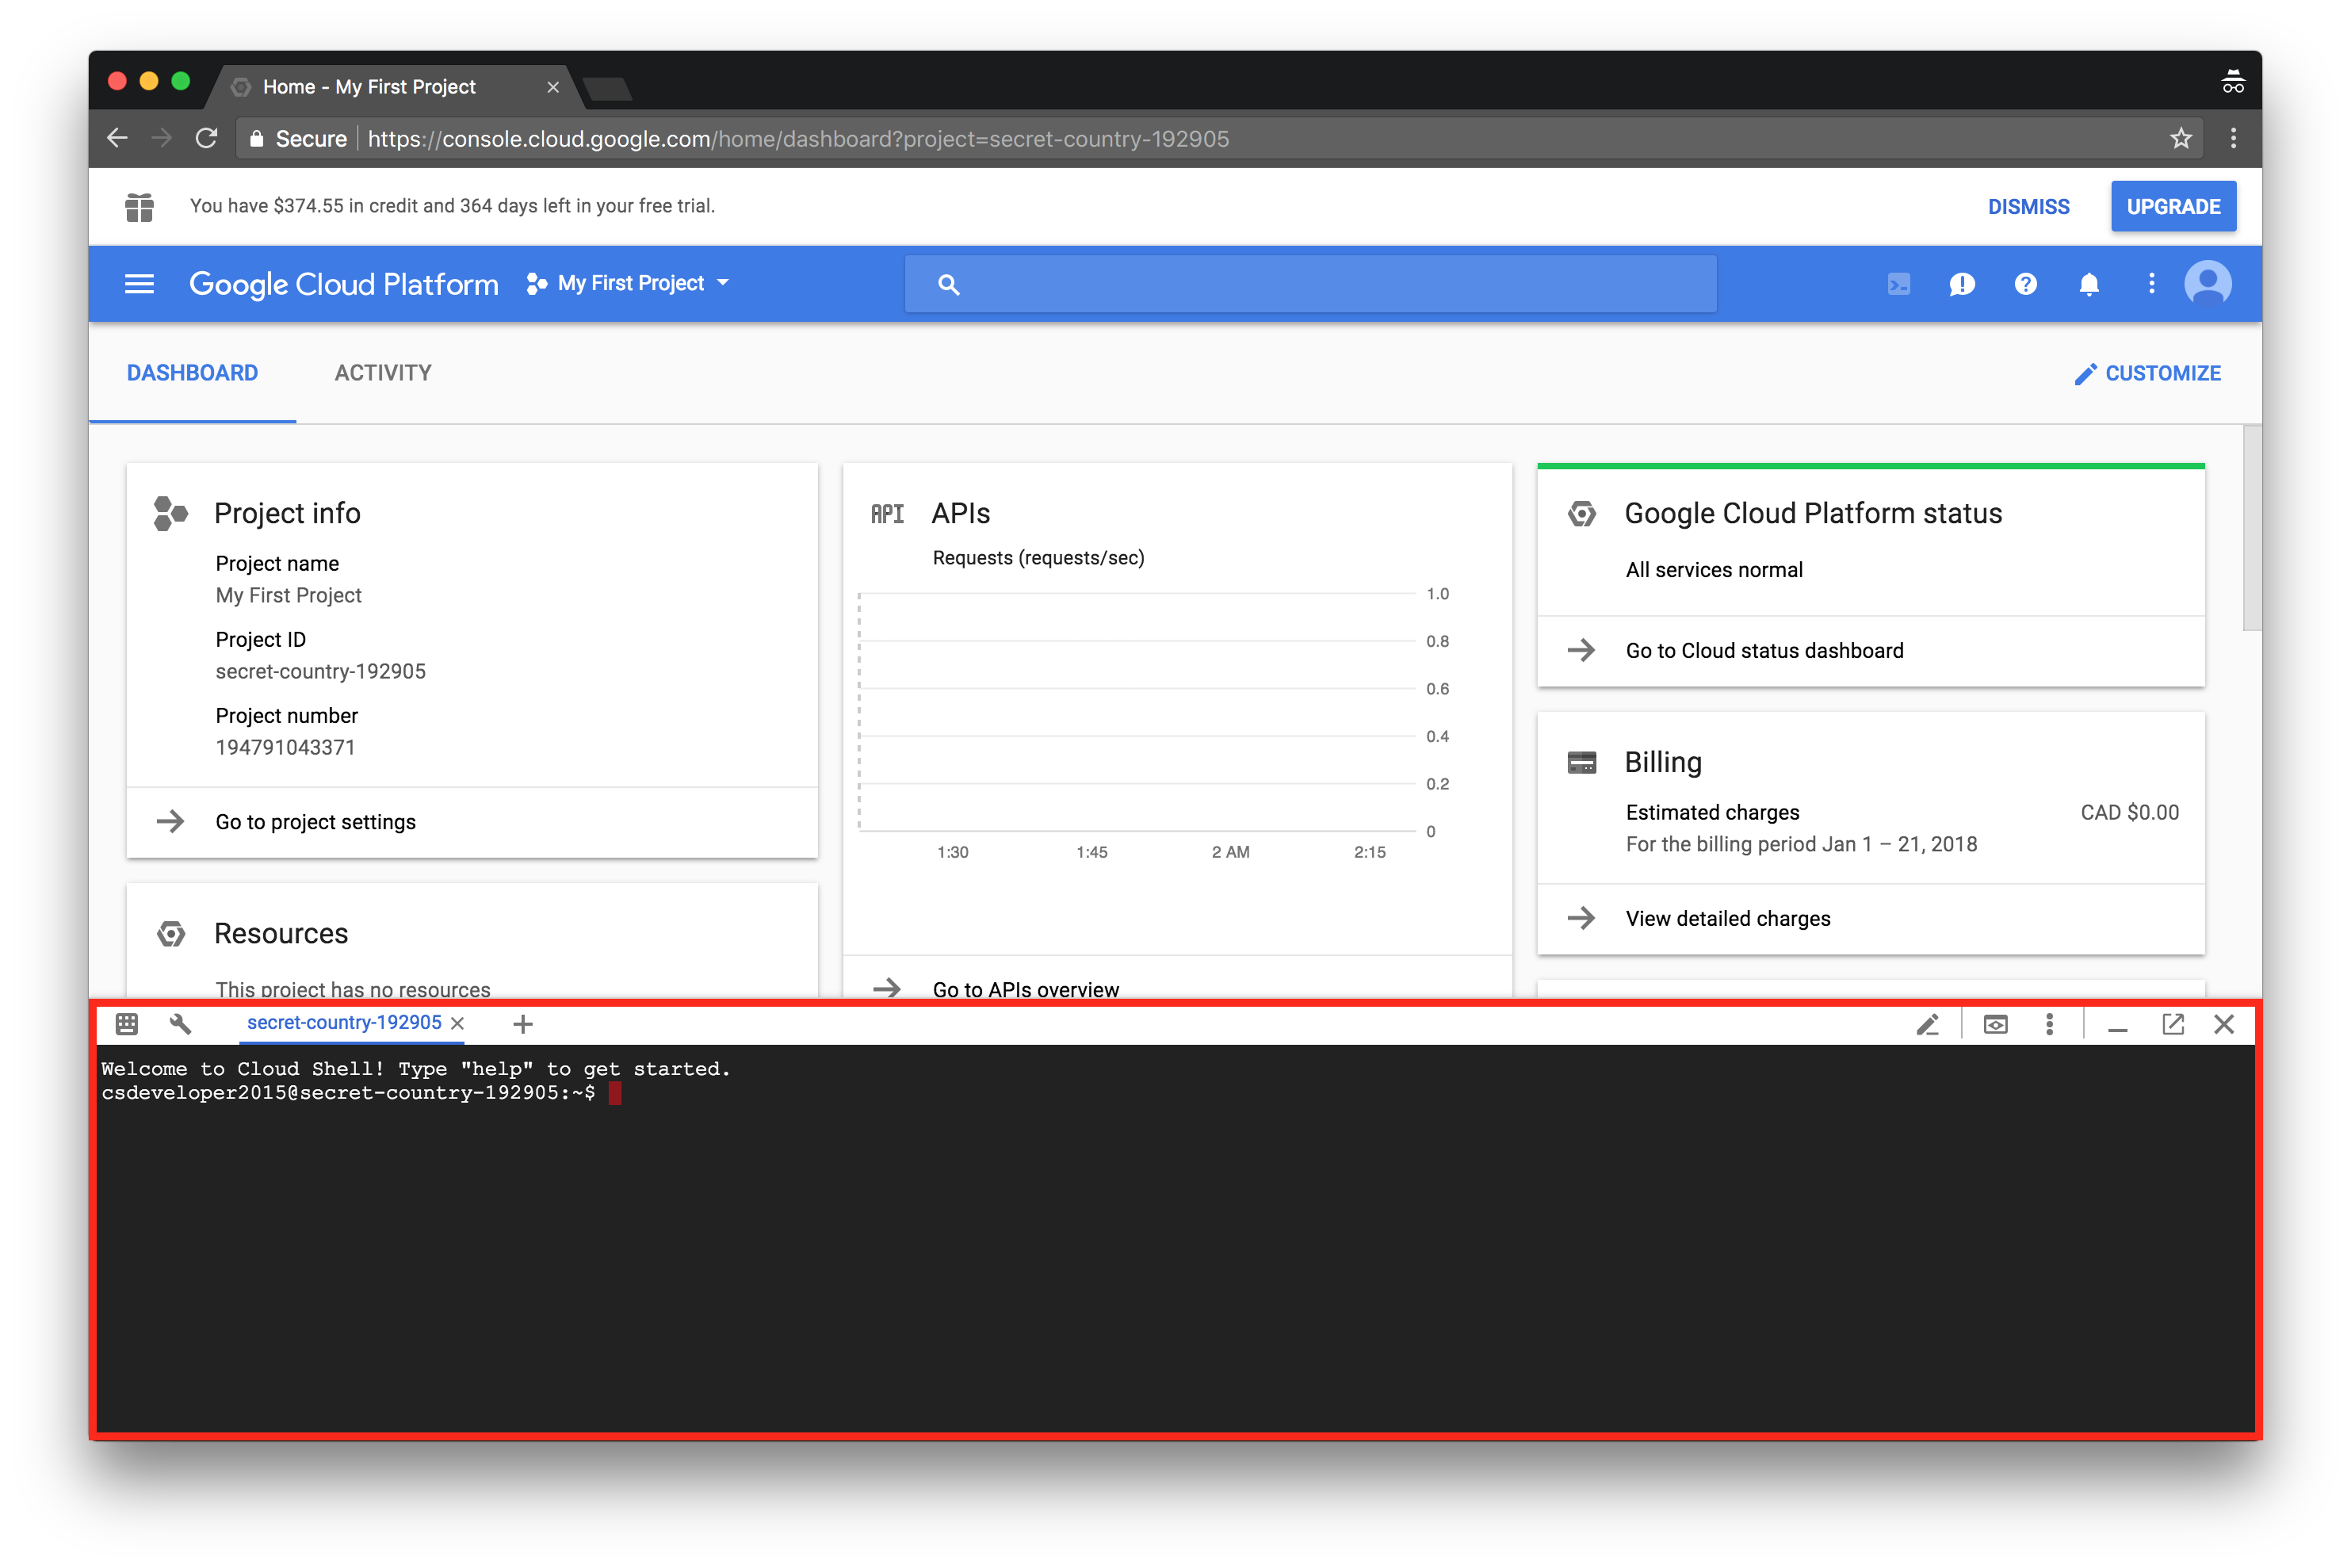
The Cloud shell is a vital component for working with GCP resources. It gives the user cloud-based command-line access to manipulate resources directly from the platform without installing the Google Cloud SDK on a local machine.
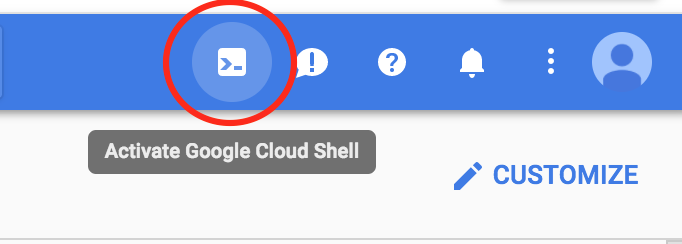
The cloud shell is accessed by clicking on the prompt icon in the top-left corner of the window.
